Credit Application
The Credit Application feature provides the ability to enter credit application information directly through the software. The primary purpose of the application is to provide enough information for your credit department to ascertain the credit-worthiness of the person or organization requesting the credit. Use the tools provided in this feature to enter applicant’s expenses and income sources, proof of employment, banking information, status of the request, and more. Encrypted fields for sensitive information are included to secure customer privacy. Credit Application is found in Receivables > Utilities > Credit Application. Please contact your Aftermarket Sales Representative to enable this feature.
Note: This feature must be enabled by the Implementation or Support team on the Parameter Settings > Setup > Software tab.
Setup for the Credit Application
Before you get started in taking credit applications, you may want to set up some of the infrastructure so your team can make selection from the options you create.
-
Credit Application Type
This defines the type of credit your customer is asking for. Is this for a line of credit, or a credit card that is specific to your business. These application types are defined in this list. -
Status
This refers to the statuses of the credit application so you know where the credit application is during the process.
Typical entries include New, In Process, Approved, Declined, and Canceled. These are based on the protocols you develop for your Credit Application process.
See Creating the Credit Type and Status Codes for more detailed instructions on these setup processes.
Completing a New Credit Application
To start a new credit application:
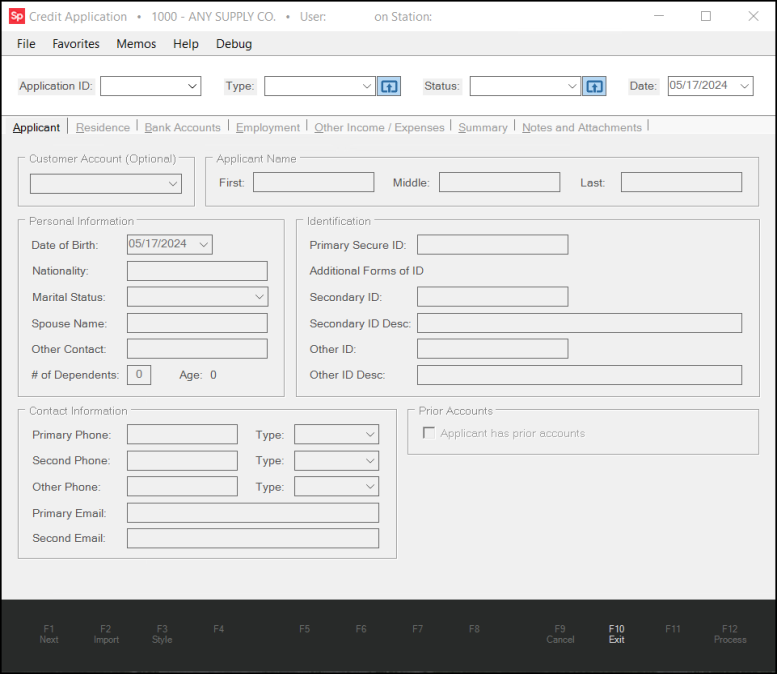
1. From the Main Menu, choose Receivables > Utilities > Credit Application. The Credit Application form displays.
2. From the Application ID list, choose New. The ID for the new credit application displays and the fields in the form enable.

3. From the Type field, choose the type of application your customer is applying for. Typical credit application types usually include Credit Cards, Line of Credit, Revolving, etc.
4. From the Status field, choose the first status for the new application.
5. Complete the required fields in each of these tabs and choose Process (F12) to save any changes as you make them.
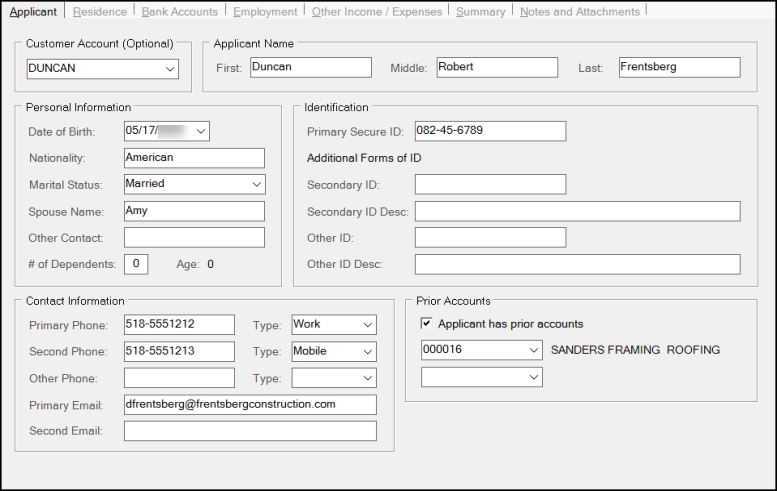
Applicant Tab
In this tab, enter the applicant’s personal information, such as name, date of birth, account number (if applicable), contact information, type of identification presented, and whether the applicant has prior credit accounts with your organization. If they have prior accounts with you, click the Applicant has prior accounts check box and select the account(s) from the list boxes.
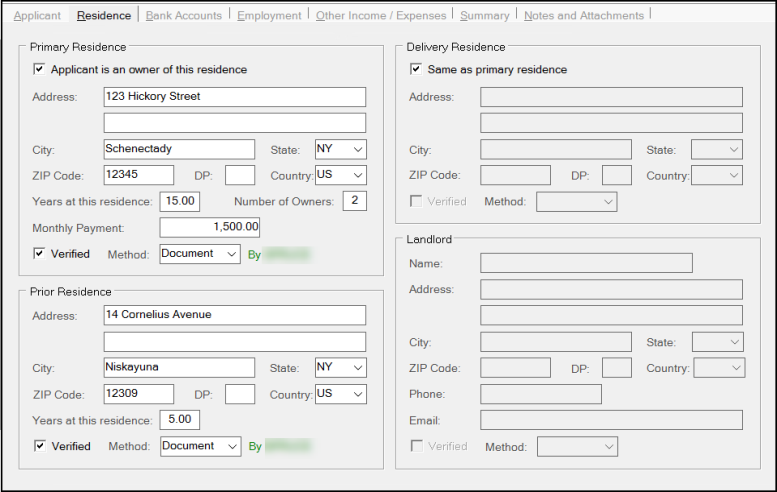
Residence Tab
Enter the applicant’s current and previous residence information on this tab. If the applicant owns the residence, choose the Applicant is an owner of this residence check box to disable the Landlord information section. If the applicant is renting, enter the landlord information in the fields provided. Throughout the Credit Application tabs, there are Verified check boxes that allow you to confirm that the information provided has been verified. The system User ID will be attached to the “Verified” action.
Bank Accounts Tab
In this tab, enter the applicant’s applicable banking information including the account name, bank name, routing #, type of account (Individual Checking, Individual Savings, Joint Checking, Joint Savings, Mortgage, Load, Credit Card, and Other), the date account was opened, and the account number. The account number is an encrypted field, and only users with the proper user rights will have access to all of the information. After you complete the requested account information, choose Add Bank (F5) to add the banking information to the data grid. Choose the Verified check box after the information has been confirmed, and select the verification method used. When you select the Verified check box, the Verified By field updates with the user ID of the person who verified the transaction information.

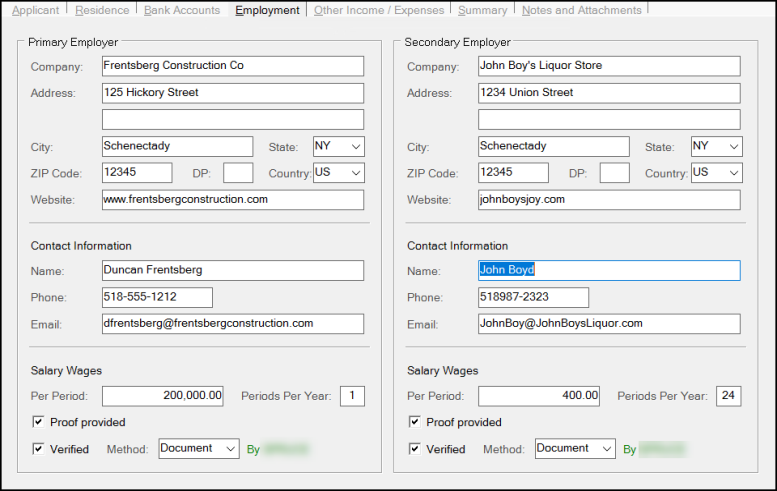
Employment Tab
In this tab, enter the applicant’s primary and secondary employers, wages, contact information, and confirm that proof of employment was provided and verified.
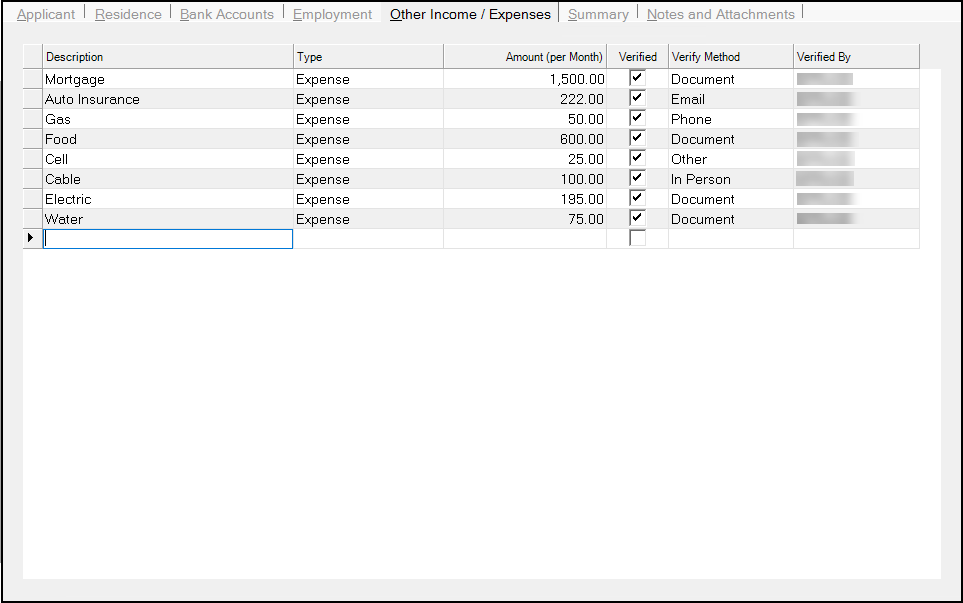
Other Income / Expenses Tab
In this tab, record any expenses and income the applicant may have such as recurring payments for expenses and savings or stocks for income. Enter the information in the data grid and check Verified and the verification method as you learn them.
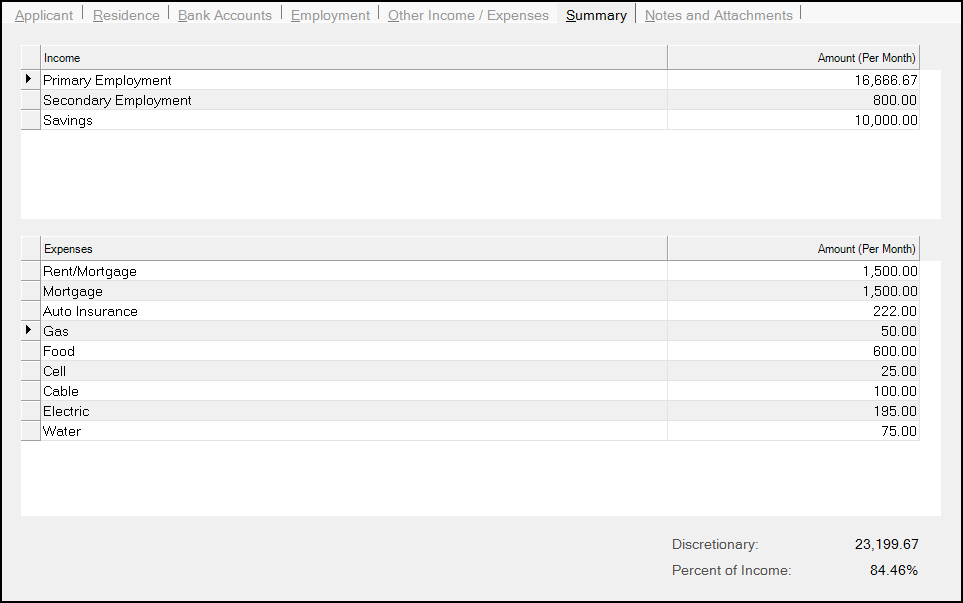
Summary Tab
The Summary tab provides a summary of income and expenses provided by the applicant. The Discretionary tally reflects the Income total less the Expenses total. The Percent of Income is the percentage of the discretionary value when compared to the total income.
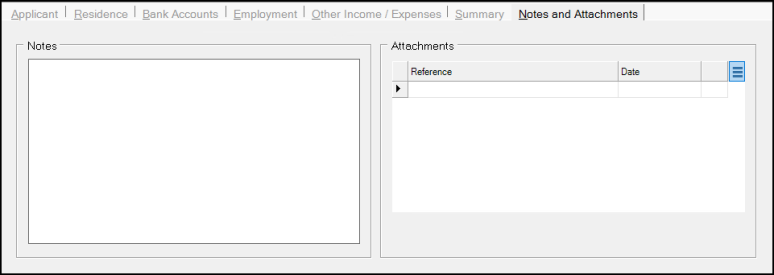
Notes and Attachments Tab
You can use the Notes and Attachments tab to store documents and other information collected during the credit application process. You can drag and drop copies of records presented during the application process to attach them to this application.
You can change the status of the credit application at any time. Choose Process (F12) to confirm your choices.