Create a New Template
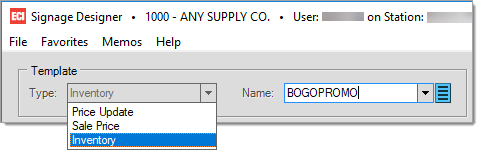
1.To create a new template, you must first select the Template Type you will be using. The options are Price Update, Sale Price, Inventory. All templates will give you access to the same tools, however, the datamapping available will be different based on the selected template type. Next step is to enter the name of the template you are creating. The Template Name can contain up to 20 characters as well as spaces.
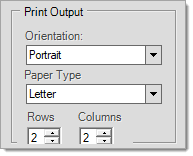
2.Once the template has been created, define the Print Output defaults for your template. The information entered in this section defines the canvas size (work area). Select the paper orientation, paper type, as well as rows and columns. If you want more than one sign per page, use the rows and columns to define how the paper will be divided. In the example below, our letter size paper will have 4 signs printed per page (2 rows and 2 columns).
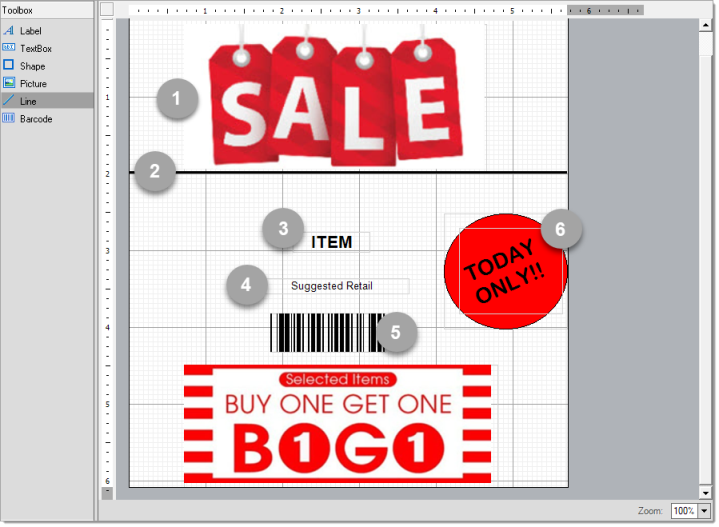
3.Next, you can start designing your template by using the tools provided in the Toolbox. To use a tool, you must drag and drop it onto the canvas. Once on the canvas, you can move and resize the tools. Below is an example of a promotional sign using all available tools.
|
|
Picture - This tool displays a picture that you add to the layout. Once you drag the Picture box onto the canvas, select the image to import by clicking in the Image field in in the properties grid and clicking on the ellipse button. You can also resize the image and define image alignment from the Properties grid. |
|---|---|
|
|
Line - This tool can be used to visually separate data regions in a layout. You can set properties in the Properties grid to adjust the color, style, weight, and size of the line. |
|
|
TextBox - This tool is used to enter static text or database fields. You can edit the appearance of the text by editing the properties. |
|
|
Label - This tool is very similar to the TextBox except for the added capability to angle the label box. |
|
|
Barcode - Add barcodes to your templates by clicking and dragging the tool onto the canvas. You can have a static barcode, or use datamapping to link to existing item barcodes. |
|
|
Shape - This tool is used to display a rectangular or circle shape on your canvas. Add a shape by dragging it from the toolbox onto the canvas. |
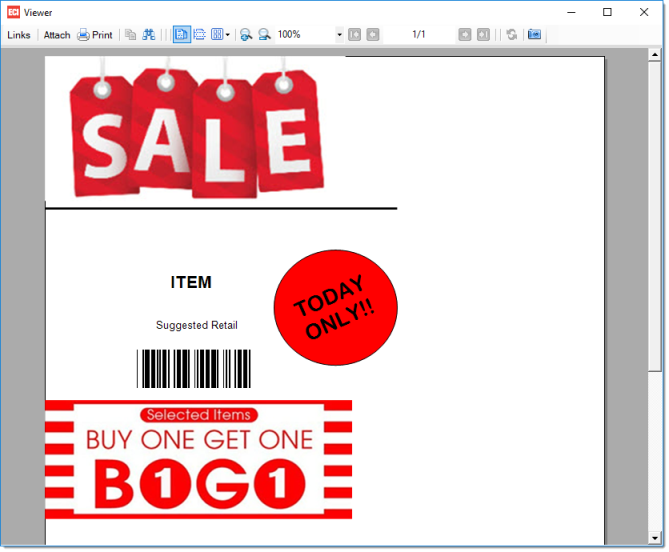
4.Click Preview (F7) at any time to view how your design will appear on paper. Note that the preview option will just show one image, regardless the number of rows and columns entered.
5.Save the template by clicking F6 Save, or pressing the F6 function key.
6.To print the promotional signs, exit from the Signage Designer tool and navigate to Inventory > Utilities > Promotional Sign.