Using a VeriFone® Pad at Point of Sale
This topic assumes that the pad is connected and configured properly. Actual screens can vary based upon the model of MX pad you have chosen (the screen is smaller on the MX830 and MX850 models). Examples shown here are from the MX860 model which has a color display. After logging into the application, the pad screen will either be blank or it will show the Display Message (if any) at the top of the screen. It may be necessary to complete a transaction before the message appears after the pad is first connected.
Once items are entered in a Point of Sale transaction. The item display will appear if it has been enabled (item display is optional):
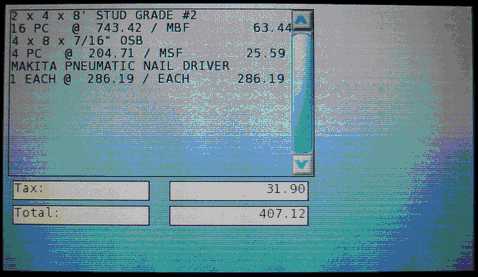
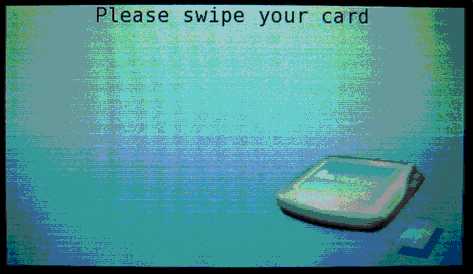
The Item Display, if enabled, remains until the Point of Sale user chooses Process (F12). At this point, the customer is prompted to swipe their card. Blue arrows light in sequence along the pad's card reader whenever a card swipe is requested:
After the customer swipe's the card, a prompt opens in the application to notify the sales clerk that the pad is waiting for the customer to continue.
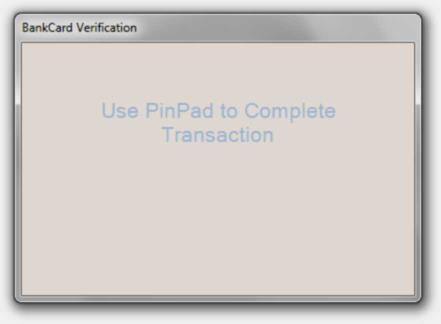
If the customer does not takes some action within the time-out period, a "Cancel" button will eventually appear on this form allowing the Point of Sale user to cancel and start over. What appears to the customer can vary based upon the features your company enabled for the pad.
If amount verification is enabled, a prompt appears asking the customer to confirm the amount:
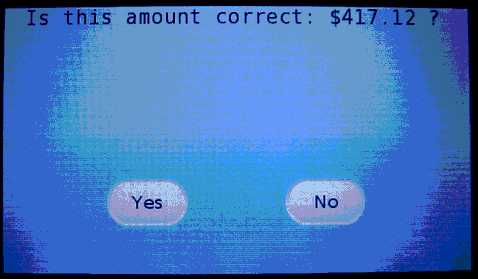
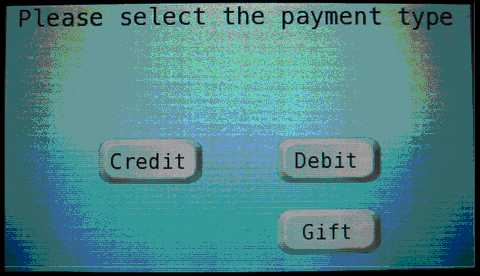
If "prompt for payment type" is enabled for the pad, the customer is asked to choose from up to 3 possible options (buttons). The 3 buttons that may appear are credit, debit, and gift. Each of these buttons can be independently enabled or disabled for the pad.
Signatures for Credit Processing and Receivables
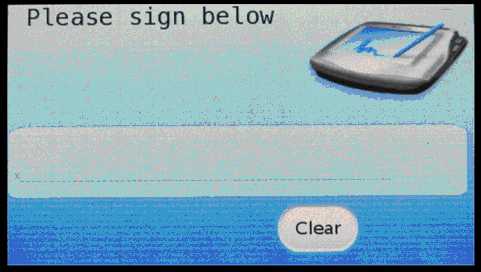
Both credit card processing and receivables will request a signature. Once the customer signs, an "OK" button appears that they can click on to accept their signature. With card-based transactions, signatures are only requested after the sales clerk has chosen the Finish button on the Process form. The "Signature" button on the pad can be used to collect a signature for non-card transactions only. Actual authorization is done prior to the customer's signature. If the customer fails to sign before the time out period, the transaction is reversed automatically.
The customer can also choose to click "Clear" to sign again if they make a mistake (if they click "clear" prior to signing, it's considered a "cancel"). If a customer signs but doesn't click OK after a period of inactivity, the signature automatically be sent for approval by the sales clerk or directly to the processor. On card transactions, signatures are collected after the card has been successfully authorized. With card transactions, the signature is not shown to the sales clerk but can be rejected automatically in some cases.
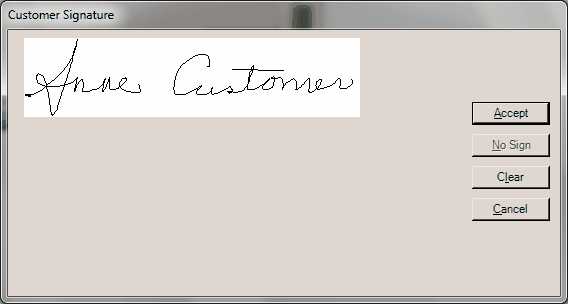
In cases where the signature is displayed, the sales clerk can choose to Accept (Alt-A), Clear (Alt-L), or Cancel (Alt-C) the signature. Clearing prompts the customer to re-enter their signature if it wasn't legible, for example. Accept completes the processing and associated the signature with the document. Cancel will reset the pad and process form to start over.
Handling Split Card Transactions
It is possible to split one transaction across several cards. To do so, you must use the "Split Bankcard" option from the Menu Marker ![]() provided in the bank card information panel. Please follow these instructions:
provided in the bank card information panel. Please follow these instructions:
1. Have the customer swipe the 1st card when prompted.
2. Modify the bank card amount and press TAB.
3. Choose the Menu Marker icon (![]() ) and select Split Bankcard from context menu.
) and select Split Bankcard from context menu.
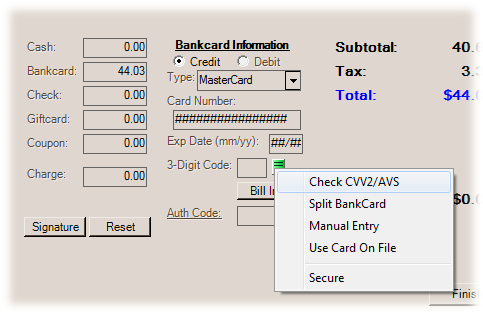
The customer may be prompted to choose debit, credit, or gift (based upon your preferences).
4. Accept the amount, and sign or enter their PIN information.
5. After the first card processes, the amount paid displays above the Signature and Reset buttons.
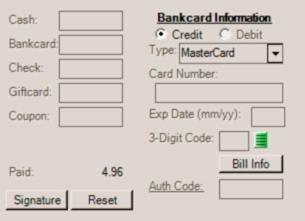
6. Ask the customer to swipe their second card when the pad is ready (the pad displays the "Please swipe your card" message).
7. Modify the bank card amount and press TAB.
8. Choose the Menu Marker icon (![]() ) and select Split Bankcard from context menu.
) and select Split Bankcard from context menu.
9. Repeat steps 5 through 8 for each additional card.
10. Choose Process (F12) when the transaction is ready.
If for some reason, the customer decides to cancel their sale, the software will attempt to reverse any processed card transactions automatically. If there are any problems reversing a sale through the software, users can do this from the PAYware Connect Merchant Console.
Debit Processing
The customer is first asked to approve the amount and choose a payment type (debit). When a customer chooses Debit, a few things can occur.
First, they are asked if they would like Cash Back (if enabled for the pad). Cash Back is known as Cash Out in some regions.
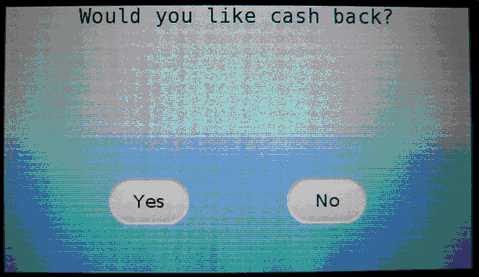
If the customer selects the Yes button, another form prompts for a dollar amount. If the customer selects No, the application displays the prompt for pin entry.
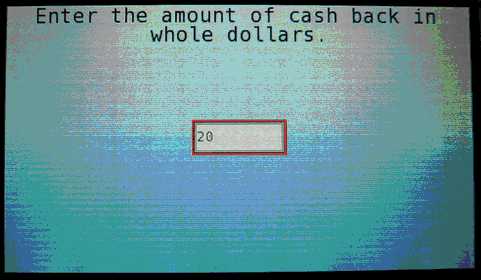
If the customer enters an amount that's higher than the cash back limit for the pad (a setting that can be changed), the amount clears and returns to the dollar amount input area. Otherwise, if the amount is accepted, the customer is prompted to confirm the dollar amount including the new cash amount.
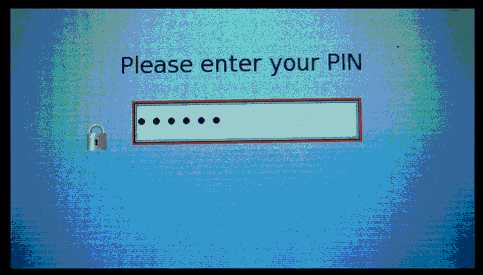
After confirming the new amount (including the cash amount), the customer is asked to enter their PIN using the VeriFone keypad . The customer presses the green (enter) button on the pad to continue.
Gift Card Processing
Gift Card processing on the pad needs a bit of clarification because there are 2 distinct types of "gift card." One type of gift card is a stored value card which operates similar to a credit card. The other is a standard store managed gift card. Both can be used along with a signature pad; however, they are each handled differently.
Stored Value Cards
Stored Value Cards are usually managed by a corporation your company is affiliated with. The only stored value cards currently supported are Do it Best® gift cards although other vendor's cards may be added in the future. These cards have the following characteristics:
✓Are usually generically branded for the corporation that manages them rather than specific to your business.
✓Work similar to a credit card.
✓Always have magnetic stripes and 16-digit identifiers (similar to a credit/debit card).
✓Require the use of a 3rd party for authorizations.
✓Can be used at any location affiliated with the managing corporation including those your company does not operate.
✓On a VeriFone MX model pad, the "Gift" button is used to designate a stored value card for processing. Do not use the Gift Card payment option in this case. The customer may swipe their card when prompted just the same as they would with a credit or debit card.

Note: After clicking the "gift" button, no pin or signature is required. The pad will immediately seek an authorization.
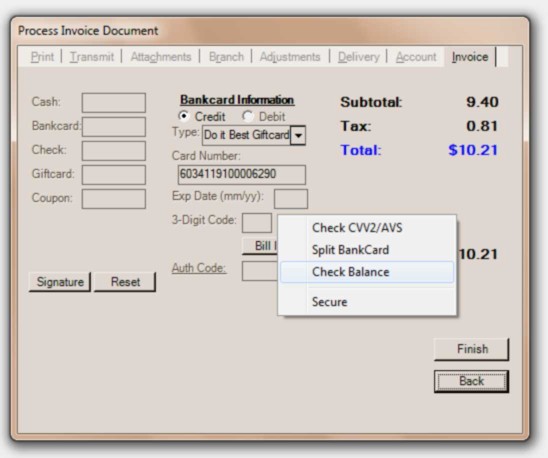
It's possible to check the value (remaining balance) of a Do it Best® gift card prior to completing a transaction. To do so, choose the "Check Balance" option on the menu marker after the customer has swiped their card (or you have manually entered the card information).
Standard Gift Cards
Standard gift cards are managed by your company only. These cards have the following characteristics:
✓Are independently branded to be specific to your company identity, not another corporation.
✓Does not require 3rd party processing.
✓May or may not have magnetic stripes and/or bar codes.
✓Card numbering is flexible.
✓Can only be redeemed at your company's locations.
✓With VeriFone MX model pads, the sales clerk must click in the Gift Card payment method text box (on the Process (F12) form) before a customer swipes their gift card. In this case, the pad is simply being used as a card swipe and not for any further processing. You may need to ask the customer to wait before swiping their card. If a customer swipes early, you can use the Reset button on the Process (F12) form to reset the pad if needed.

After the customer swipes their card. The software checks for a matching gift card number in the database. If one is found, the card number and amounts are displayed on the Process (F12) form. Otherwise, a "card not found" message is displayed.
Transaction Completion or Rejection
If a transaction completes successfully, the words "Thank You." appear briefly before the pad returns to the message screen.

If the transaction fails, the message "Transaction Denied" appears.

In the case of a rejection, a message box appears to the Point of Sale user with a message that states the problem. This message can vary in usefulness. It's important to realize that it is a message returned by the processor, not the application.
At this point, the sales clerk has an option to "try again" by clicking an "OK" button or choose "Cancel" to return to the process form. Please see the Troubleshooting VeriFone Pads topic for more information about errors and other issues that may occur with pad processing.
