PaperStream Capture
PaperStream Capture is a software product of Fujitsu and is provided free of charge for use with their scanner hardware. We have tested and recommend the fi-7280 model (shown below). The scanner connects by USB only. For cloud hosting, there is no requirement that document scanners be connected to the VPN (Virtual Private Network) or your own network. Electronic copies of scanned documents can be directly added or moved to your hosted share directory for later association as attachments. If you are connecting directly using the default USB connection, the scanner will attempt to install drivers automatically. If not, or if the installation fails, you will need to add the scanner drivers manually. There are two classes of drivers TWAIN and ISIS. ISIS is used for document scanning for use with our application; however, you can install both.
Note: If your station is running Windows 11, install the TWAIN driver rather than the ISIS driver.
You can download and install the drivers from the following page (subject to change):
http://www.fujitsu.com/global/support/products/computing/peripheral/scanners/fi/software/fi-7x60.html
Install the 32-bit versions of the drivers when both a 32-bit and 64-bit are offered. The PaperStream Capture software is a 32-bit application. Turn off the scanner (if connected), prior to installing any drivers.
•ISIS 32-bit (PSIPISIS-LX5-1_42_0c.exe) http://www.fujitsu.com/global/support/products/computing/peripheral/scanners/fi/software/isis-fi-7x80.html
•TWAIN 32-bit (PSIPTWAIN-1_42_0c.exe)* http://www.fujitsu.com/global/support/products/computing/peripheral/scanners/fi/software/ps-ip-twain32.html
After installing the drivers, plug the scanner's power cord and turn the scanner on. Make sure the scanner's USB cable is plugged into the back of the scanner and your computer.
There is no direct software integration with the scanner. The results of any scanning operations (resulting files) may be associated with your data using the Attachment Maintenance feature.

If you purchased a Fujitsu scanner, you may have received a disk with an installer for this software; otherwise, the PaperStream Capture application can be downloaded directly from the Fujitsu web site.
http://www.fujitsu.com/global/support/products/computing/peripheral/scanners/fi/software/fi-7x60.html
If you are downloading their software, you will need to supply some requested information. This includes the part number, serial number, and your Email address. The necessary numbers can be found on a label located on the back of the scanner. After submitting the request form, Fujitsu will send an Email with a user name and password as well as a link to the download.
|
Important! To install any software on your computer, you will need to be logged in with a user account that has administrator privileges. You may need to right-click and choose "Run as Administrator" in some cases (and depending upon your Windows operating system version). End-user support for hardware devices, including devices we may sell, is not considered software support. |
Installation Instructions
The following instructions are based on instructions from the Fujitsu web site as of February 2017, and are subject to change at any time. We are not notified of any changes by Fujitsu. Always follow the instructions on their web site if they differ from what's shown here.
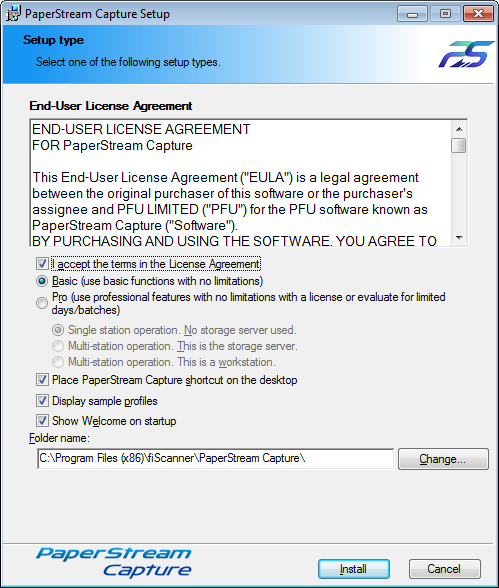
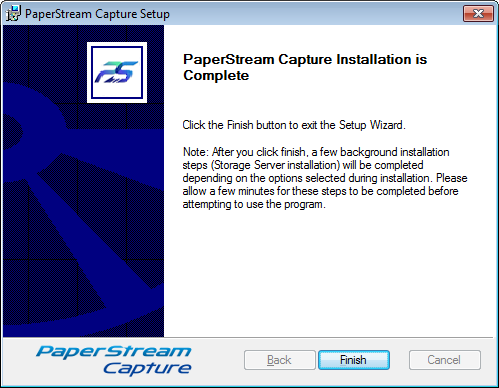
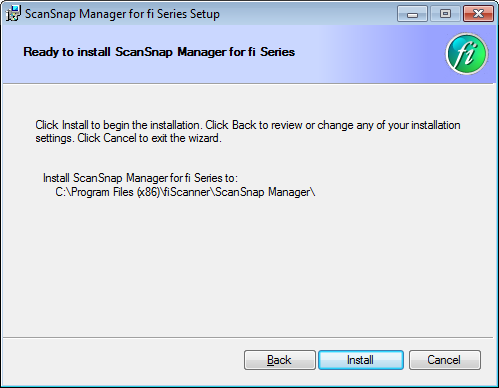
![]() Installing PaperStream Capture
Installing PaperStream Capture

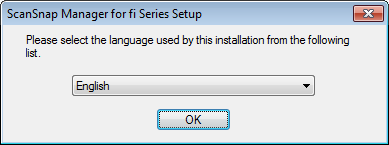
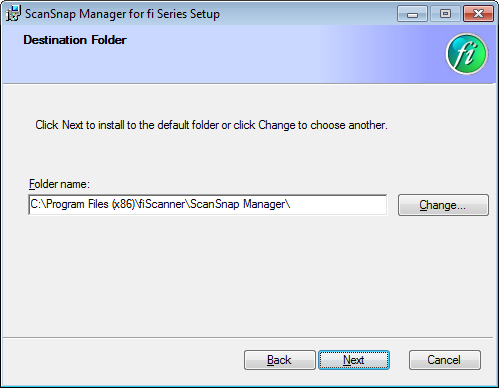
![]() Download and Install ScanSnap Manager for fi Series Scanners
Download and Install ScanSnap Manager for fi Series Scanners


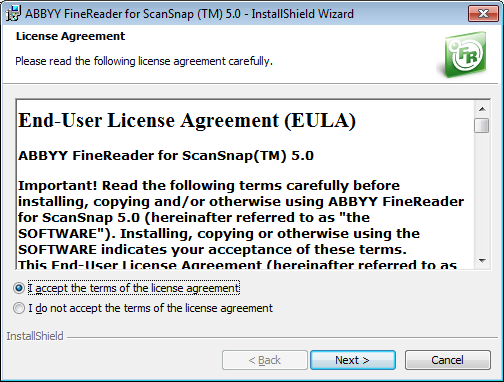
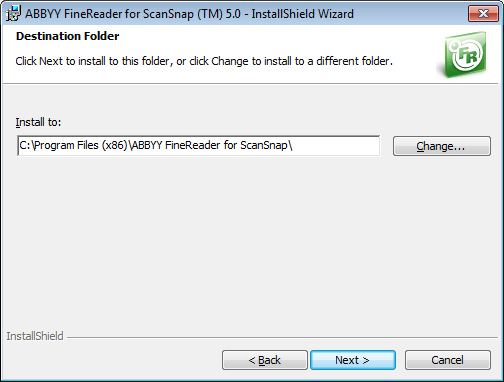
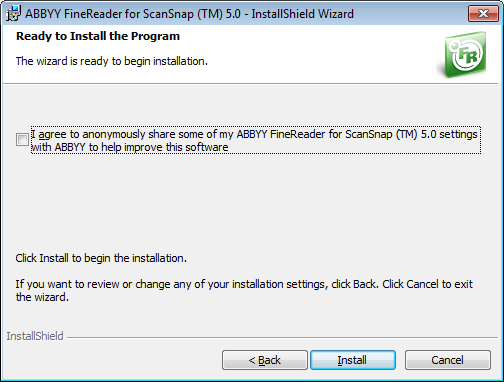
![]() Download and Install ABBYY FineReader for ScanSnap™
Download and Install ABBYY FineReader for ScanSnap™
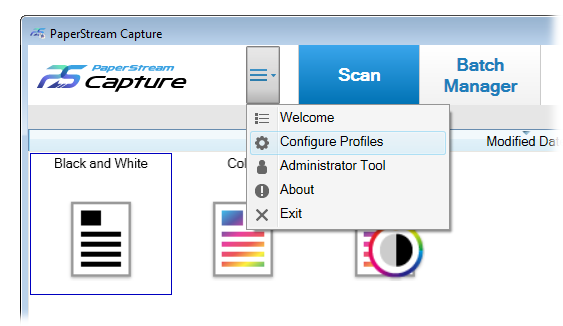
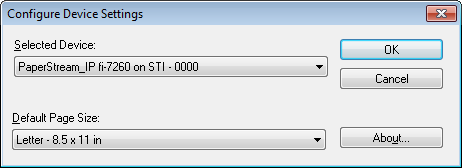
 Profile Configuration


")

Scanning Operation
The following steps outline how you would scan documents for later attachment in the
1. Attach document labels to the documents if desired. For multi-page documents that you want combined together as a single attachment (file), only print and attach one (1) label to the first page. Document labels may be printed using a DYMO LabelWriter printer.
2. Open the PaperStream Capture application.
3. Load documents into the feeder tray (top) with the printed side visible (facing outward).
4. Click the profile you added for scanning.
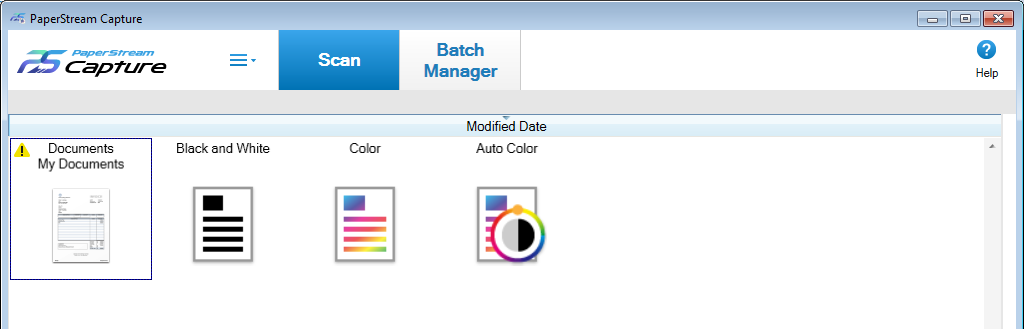
5. Scanning will immediately begin.
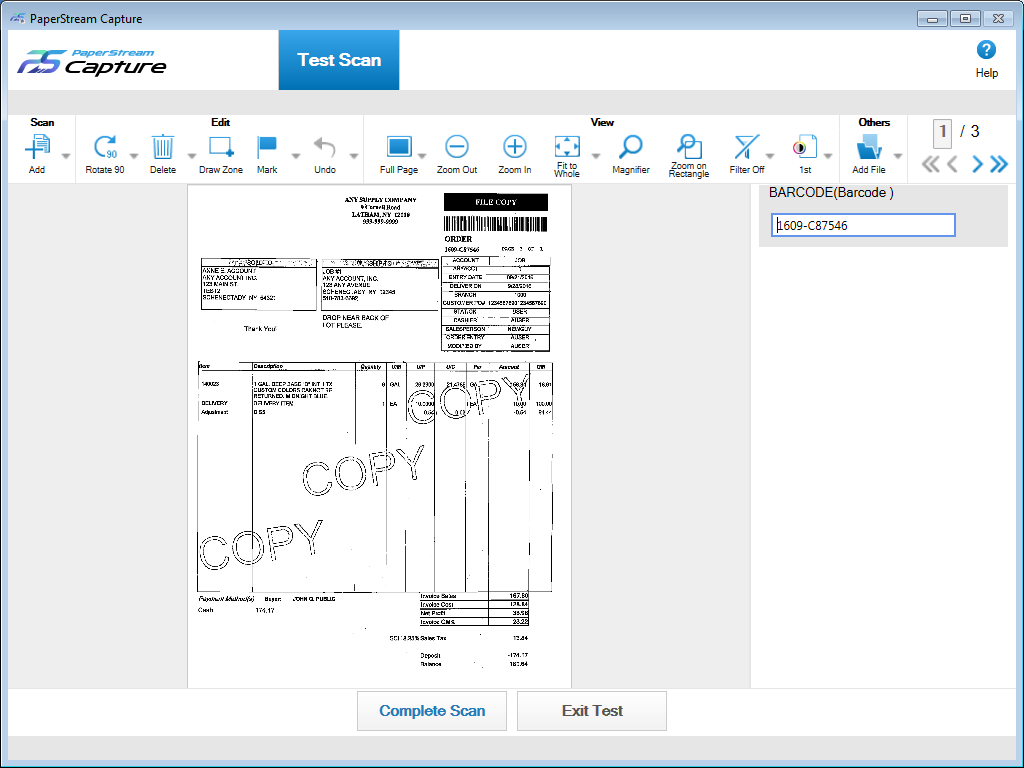
6. For any documents that a barcode could not be located, you can manually enter a barcode; otherwise, they will be considered additional pages for the prior barcode (if any). don't enter a barcode for additional pages, leave these blank. Use the arrow buttons (< and >) to navigate through the scanned images. You can also rotate, crop, and perform other operations on the images prior to completing the batch.
|
Multiple documents with the same barcode are not combined together into one file. Each document with a recognized (enabled) barcode will be saved as a separate file. If you are scanning external documents, only attach a document label to the first page. Pages without a barcode will be considered additional pages for the same document in this case. |
7. Once you are satisfied with the results, click the "Complete Batch" button. You can also suspend the batch for later review. Any errors can be viewed from the "Batch Manager" option.
8. A warning message dialog is shown asking "The batch will be released. Do you want to continue?" Respond "Yes" to the dialog unless you need to make changes. You can choose to not show this message in the future.

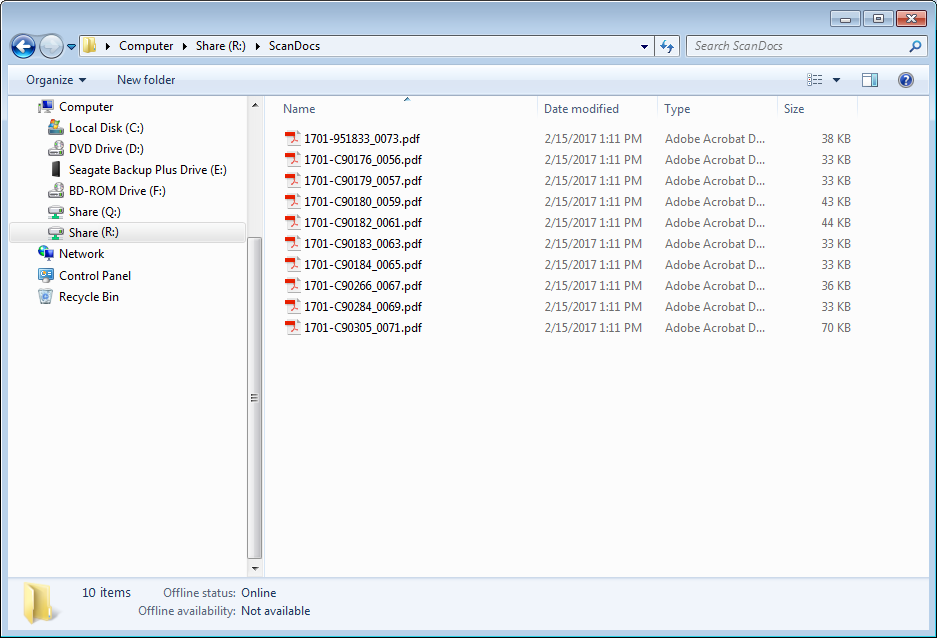
9. The scanned files will be located in the directory you designated. Use Microsoft Windows Explorer to view the files. Choose a "view" option of "Details" and sort by "Date modified" to see the latest files.
Some Points about Batch Scanning
Assuming that you followed the setup instructions provided here, any scanned documents with the same barcode will be merged into one PDF file as output. This means that you could scan six (6) documents, but only wind up with four (4) files, for example. You can usually tell which files are multi-page by comparing the size of the PDF files. Larger files will generally mean more pages.
Most of the settings that determine operation are based on the profile. If you want to change settings, we suggest creating additional profiles to do this with so that the original remains as a backup. There is a "clone" option that can be used to create a copy of an existing profile for this purpose.
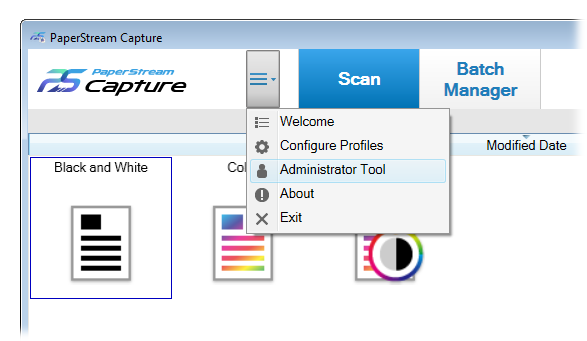
Associating the Scanned Documents as Attachments
1. Open the
2. Choose Maintenance from the Main Menu.
3. Choose Attachment Maintenance from the Utilities menu.
4. Select the Folder radio button.
5. Click the ellipse (...) button and browse to the directory/folder where your scanned documents exist.
6. Select Process (F12) to populate the data grid.
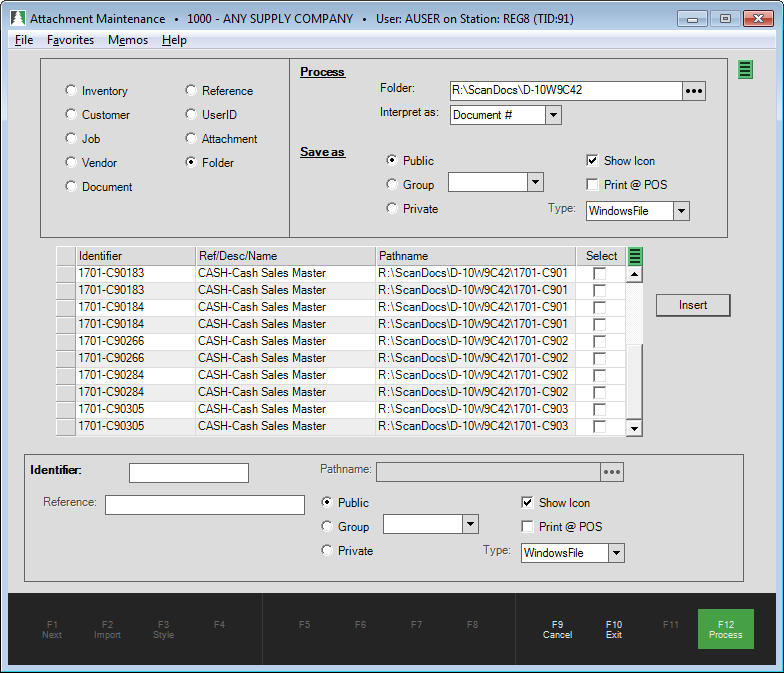
7. After you've fixed the identifiers, choose "Select All" from the menu marker  icon's context menu.
8. Choose "Insert" to add the attachments for the selected documents.