Using the Image Load Utility
You can use the Image Load Utility (Inventory > Utilities > Management > Image Load) to associate images with items using images from a designated directory (folder) location. It may be useful to generate the Items with No Images report before you get started. This report is available for free from the ECI Customer Portal.
Note: If you are on a hosted system, make sure the images are saved in a Shared sub folder.
To use this utility successfully, the image file names (not including the extension) must match either the item's SKU or one of the item's associated vendor-items. Not all images in the folder need to be named this way if they are used for other purposes. You can select the ones you want to import from the list. The images you want to associate the items with must use these naming conventions though.
Note: You are limited to a single image per item when you use the automated Image Load utility.
After you associate an item with an image, the image will display when you look up the item in the application folders as well as Item Maintenance/Inquiry forms.
To import images using the Item Image Load utility:
1. From the Main Menu, choose Inventory > Utilities > Management > Image Load. The Item Image Load form displays.
2. In the Folder field, choose the Ellipsis  button and navigate to the folder with the image(s) you want to import.
Select the Incl Sub Folders check box if you want to search the subfolders for additional images files. This is not required.
3. In the Match On box, choose the criteria for matching the image files to the corresponding items.
Choose either the Item SKU # (your item number) or the Vendor Item (vendor's SKU) for matching based on the naming convention you use to name your images.
4. Choose the View (F8) key to retrieve the images that are stored in the folder you specified. The utility then displays them in the data grid.

Item Image Load with Entries
5. Review the list of images and choose the Select check box beside each image you want to load into the database.
Alternatively, if you want to link all of the images to the database, choose the Menu Marker  beside the data grid and choose Select All from the context menu.
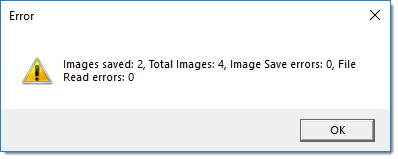
6. To update the database with these links choose Process (F12). A confirmation /error message displays:
Choosing an Image Folder
Begin by choosing an accessible folder (directory) on either your local computer or one that's available on your network. You can type or paste the directory path into the provided text area or use the browse (...) button to find the directory using the File dialog.
You can remove characters from the image's filename by entering the characters you want to remove in the Remove Characters field. This may be necessary if the file names contain dashes but your item SKUs don't, for example.
Selecting the Images you Want
After choosing the folder (directory) where the images are stored and after designating any remove characters (if necessary), choose the View (F8) function to populate the data grid.
The data grid lists the image files in the directory. The "Identifier" column lists the characters from the file names that will be used to match against items. These may or may not match with valid item or vendor-item SKUs.
What happens during processing?
During processing, the software attempts to match the image name with item ID or vendor-item matching the "identifier" based on the file names. If a matching inventory item record is found, the software creates an "image" attachment for the item. This Utility can only be used to update the first image associated with an item. You can save both a thumbnail and full size image for each item.
Image data is stored in your company's "attachment" database. The attachment database is a separate database used for the storage of attachment and certain other types of data. This database has a table named dbo.Images. The application database has a table named dbo.InventoryImages containing references to the image identifiers in the attachment database. There will be two records for each item image in both tables.
Attaching Individual Item Images (Manual Process)
Use this process to attach up to three images to item records in the database using the Item Maintenance form. Items must be named using the item ID and the image format must be jpg. You must have administrative permissions to access the hosted server to perform this work.
1. Save the files you want to attach to item records to your Work Resources folder in an Images subfolder on the server. All images that you want to attach should be in the same folder.
2. From the Main Menu, choose Inventory > Database > Item. The Item Maintenance form displays.
3. From the Item list, choose the item that you want to attach images for.
4. From the Common tab, choose the Images tab.
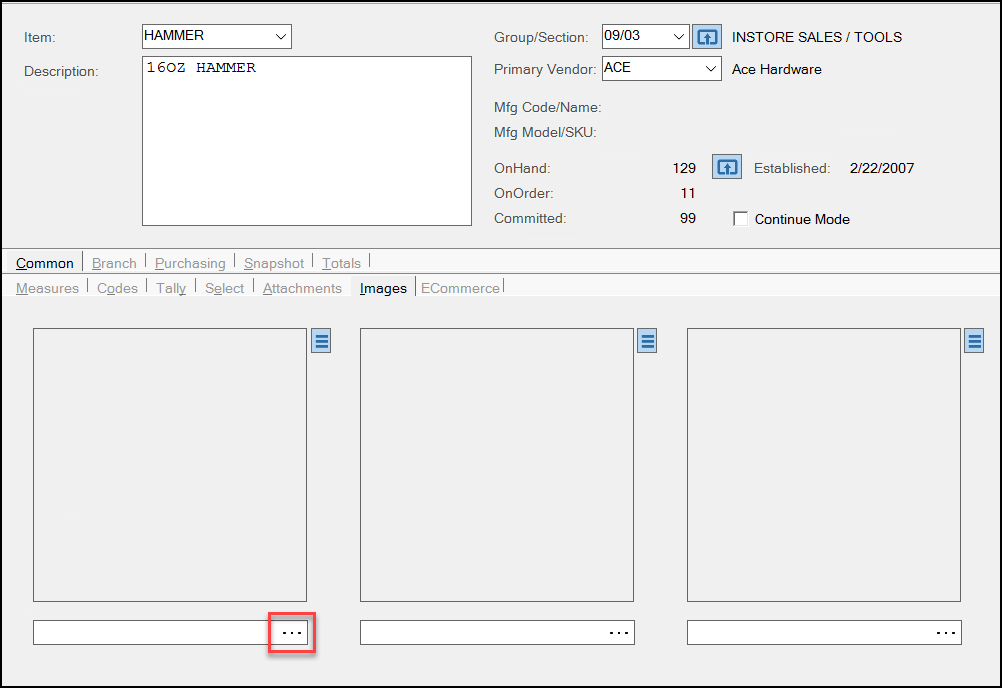
5. Do one of the following:
-
Open the File Explorer and navigate to the inventory images folder on the server.
Drag the image you want to add from the folder to the box on the Images tab.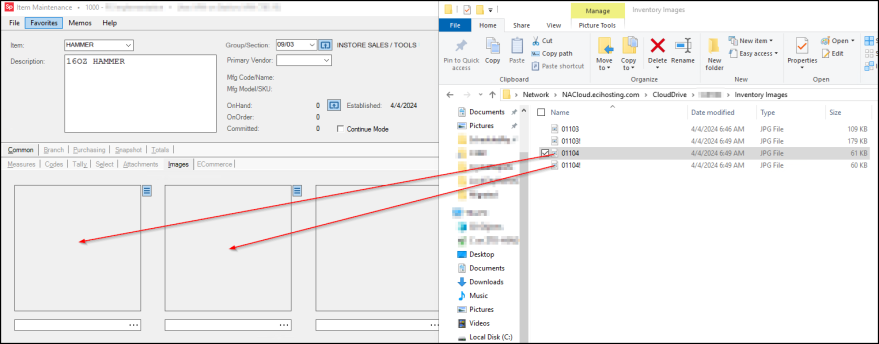
OR
-
Click the Ellipsis
icon and navigate to the same folder on the server that contains the item image you want to attach. Choose the file you want to add from the list and click Open.
6. Repeat step 5 to choose the other images you want to include for this item.
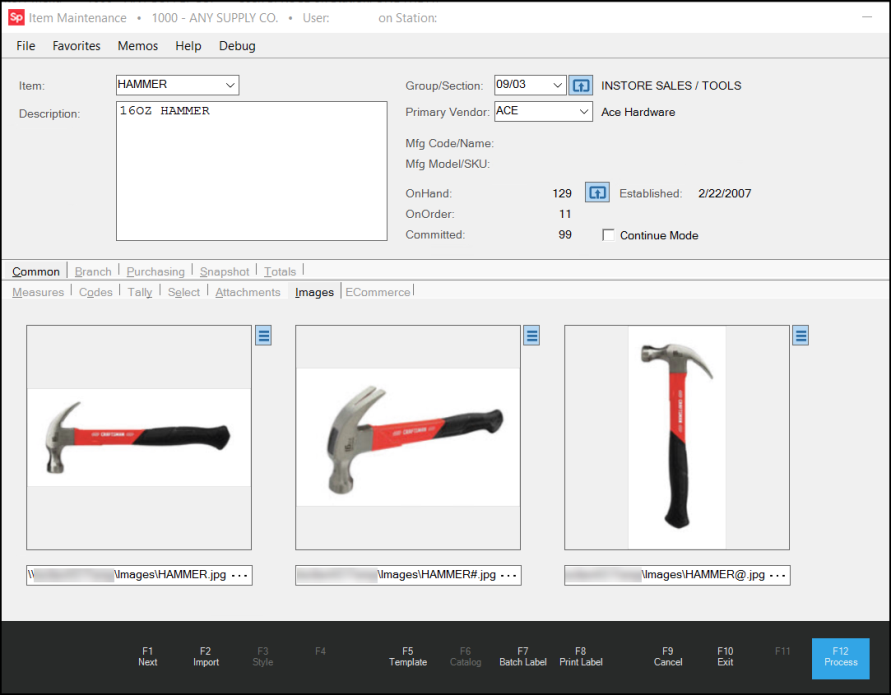
7. Choose Process (F12) to save these images to the item’s database record. The Branch List displays to prompt you to choose the branches that this change should affect.
8. Choose all branches that are appropriate and click Accept.