AnyWare Item Location Maintenance
You can use this feature to scan or enter a number of items as a batch and assign them to a specific location code and location position. Each item in your inventory can have up to three (3) associated location codes. These codes are intended to represent a different physical location where that item may be located. The first or topmost code is considered the item's "primary" location and the other two (2) codes are considered alternates. You can look up these codes in the application by going choosing Inventory > Database > Item to display the Item Maintenance form. Choose an item and then select the Branch > Codes subtab to display the location settings for the item.
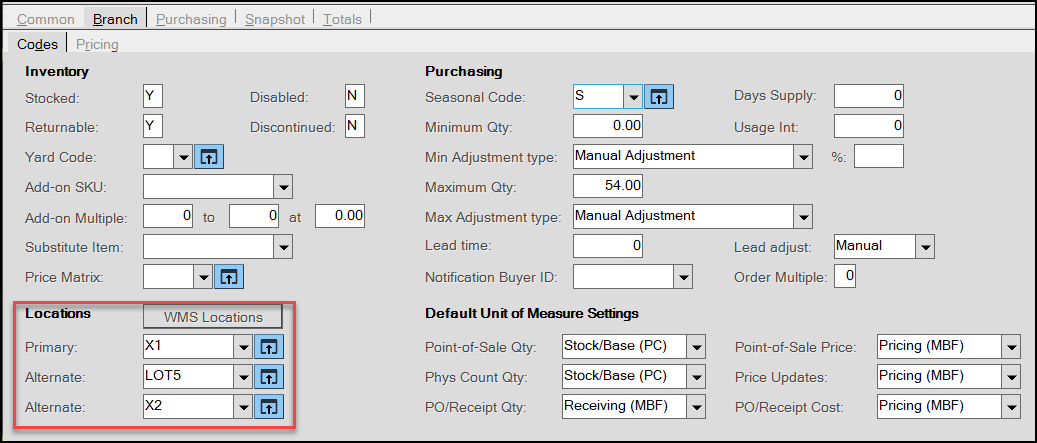
Item Maintenance > Branch > Codes Subtab with Locations Highlighted
You can update these codes in the application in a number of application areas (Point of Sale, Inventory, etc.). Locations can be modified as long as they don't have an associated on-hand.
To use the AnyWare Item Location Maintenance feature, choose a location code and location type (primary, alternate 1, or alternate 2) and scan or enter items belonging to that location. This is probably best accomplished by using a mobile device at the physical location and scanning all products that are found there. Each item's existing location assignments are listed in the grid area. No restriction is placed on duplicate locations assigned to more than one location type (primary or secondaries).
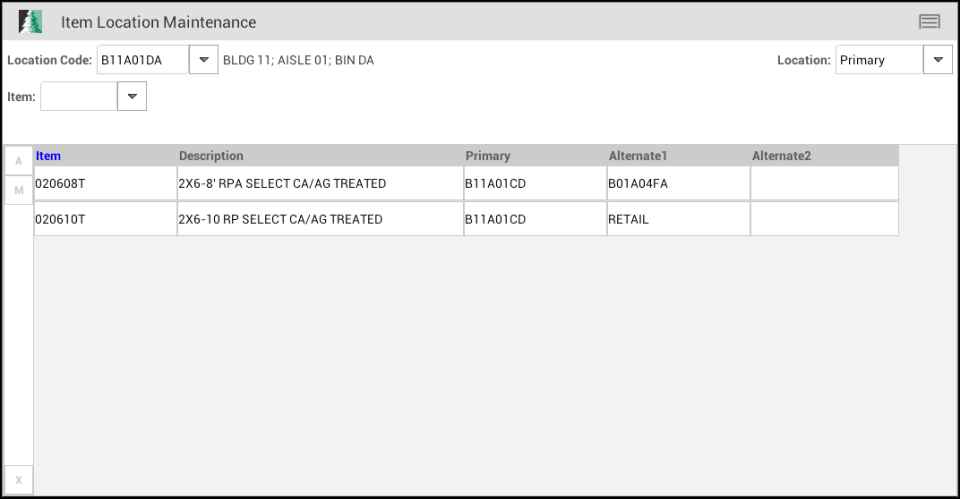
Item Location Maintenance
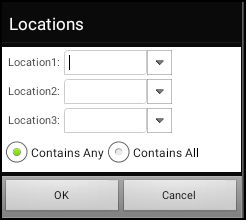
Selecting a Location
Tap the Locations selection tool to choose an existing location code. Items in your inventory can each be assigned up to three (3) location codes. Each code represents a distinct location. In many cases, companies create codes that follow some scheme or formula that indicates aspects of the location (building, aisle, bin/shelf, etc.).
For example, the location code might start with a code indicating the building in the yard followed by other characters indicating an aisle within the building and so on.
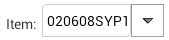
Selecting an Item
You can scan an item's UPC (barcode) or you can type in some or all of the item's SKU in the Item Text area to narrow the search.
If you have a Motorola Enterprise ET1 tablet with a bolt on scanner, you can use the paddle buttons on the back of the device to activate the scanner. You can also use other supported wireless BlueTooth™ scanners. If your Android device has a camera with the necessary software, you can use the Scan option from the Menu. In all these cases, the cursor or active field must be the Item control.

Alternate selection options include barcode and user items.
You can also use alternate selection options such as the Barcode and User Items. To see more options, in the Items text field, enter a full or partial barcode and long press on the item control until the "More Options" menu appears.
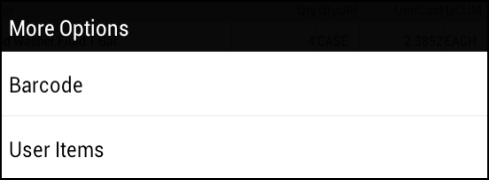
-
Choose Barcode from the list and the matching items (if any) display.
It is far easier to use your device's bolt-on scanner or a wireless handheld scanner than this method. -
Choose User Items to display a list of items that are linked to a specific user.
These items can be defined in the Spruce software and are often short lists of commonly needed or used items. Partial entries in the Item text area before choosing the alternate menu can help narrow down the results returned.
Processing
Once all items have been entered, choose Process from the Menu to save the location changes.
This updates the inventory items immediately. If any items have an existing location for the selected location type (primary, etc.) a prompt is provided warning you and allowing a cancel prior to processing.