Invoicing POS Assured Sales
The Invoice POS Assured Sales utility gives you a way to process POS Assured sales in the application, so it applies the amounts to the appropriate records in the database.
What is POS Assured?
POS Assured™ is an offline option for
For multi-branch (location) companies, you need a POS Assured appliance at each location.
You need to install the Remote Client application/service and run it on a user’s local PC. It is the same software used for remote or VPN-less printing. The Remote Client can be used to open the Offline POS solution in the event of an outage. Please contact your ECI Aftermarket Sales Representative to enable this feature.
Processing POS Assured Transactions using the Invoice POS Assured Sales Utility
After the transactions have been synchronized, you are ready to process the invoices/returns in the application.
-
For receivables accounts, the application updates the account with the submitted charges and, if applicable, replaces the amount with the customer’s normal (contract) pricing. In these cases, the amount the customer is billed may differ from the offline transaction. This would typically be less assuming that their pricing would often be better than the store retail level.
-
For Cash accounts, the application does not reprice sales, so the application applies an automatic adjustment to record any differences between the offline sale and resulting invoice. The offline adjustment code can be set via a parameter.
To upload the POS Assured transactions and apply them to the application:
1. Click the POS Assured ![]() icon to begin the push to the application. The Control Center box displays.
icon to begin the push to the application. The Control Center box displays.
Note: Follow this step and the next only if you added an Administrator Key in the Parameters Settings form: Setup > Options > Point of Sale > Administrator Key field.
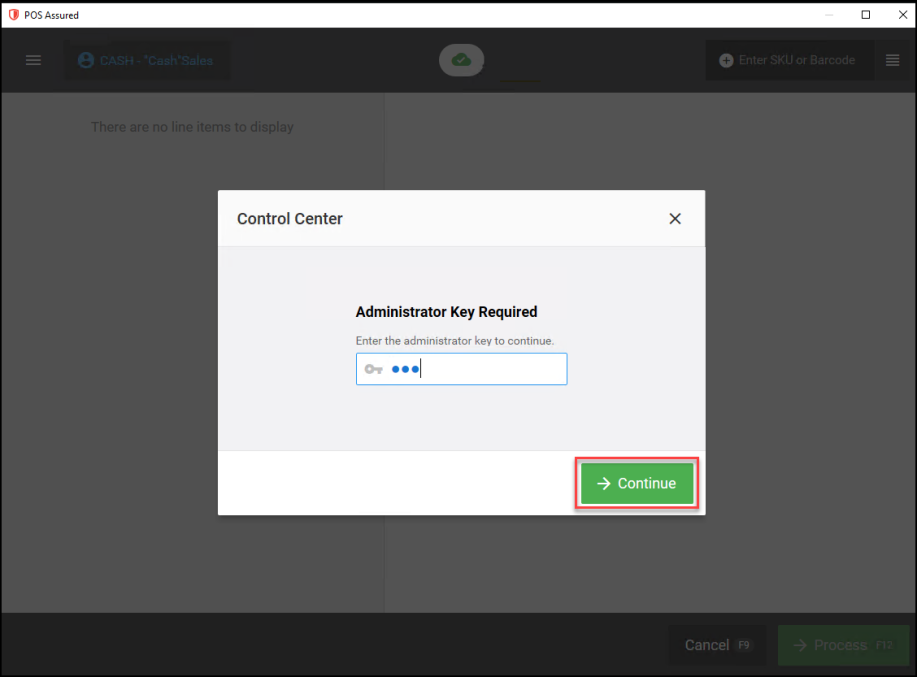
POS Assured Control Center > Administrator Key Prompt
2. In the Administrator Key field enter the admin code and choose Continue.
The Control Center updates to show the transaction you created.
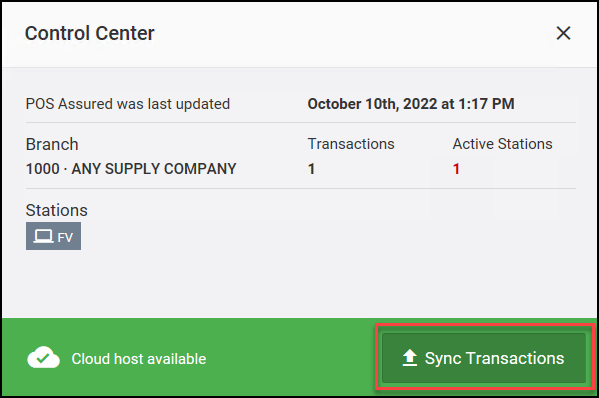
POS Assured Control Center > Push Transaction
3. Verify that the Cloud host is available and if so, choose Sync Transactions. A confirmation message displays.
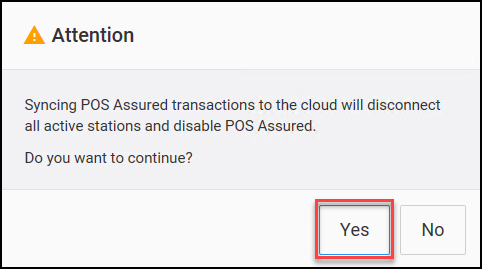
POS Assured Push Confirmation Message
4. Choose Yes to continue. The sale syncs with the application.
5. Log into the application.
6. From the Main Menu, choose Point of Sale > Utilities > Invoice POS Assured Sales. The POS Assured Sales form displays.
7. Choose the Selection button to choose the uploaded transaction record you want to process. The POS Assured Sale Selection box displays.
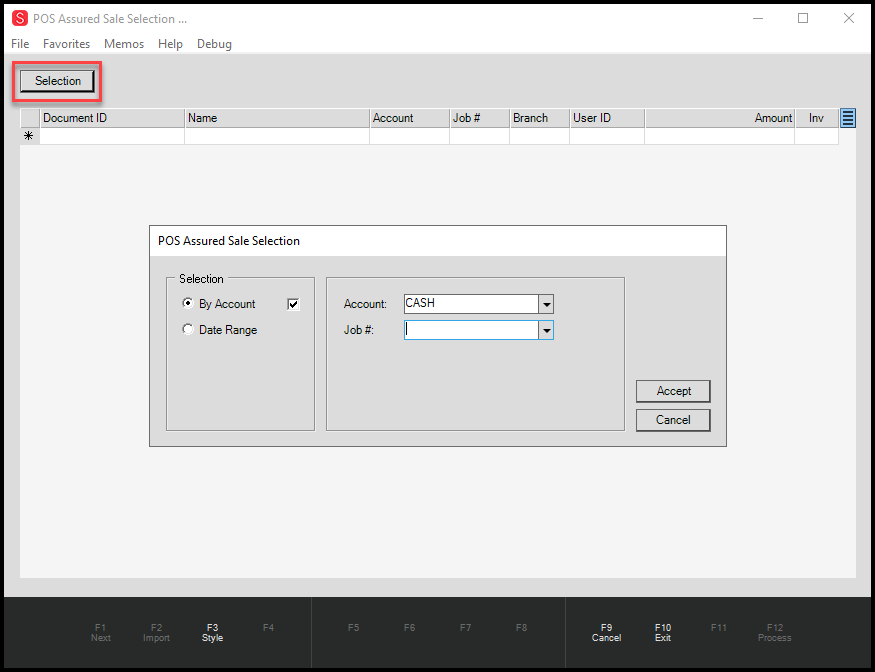
POS Assured Sale Selection Box
8. Continue based on the transactions you want to process:
-
To import the transactions for a particular account/job, leave the By Account option selected and use the Account and Job lists to specify the transaction.
The account selection limits the orders reported to a specific customer. Type the account ID or click the down arrow button to select from a listing.
The selection listing includes the account code (number), customer name, status, class, and phone number for reference. -
To import all transactions as once, choose the Date Range button and enter the Starting and Ending dates in the fields provided.
There are some other selection options such as Entry and Delivery Dates options, and Sale type options you can also consider.
Use the selection marker to pick from a preset list of dates including: today, yesterday, current month, last month, current year, last year, last 30 days, current fiscal year, and last fiscal year.
9. When you have completed these selections, press Accept. The transactions you specified display in the list.
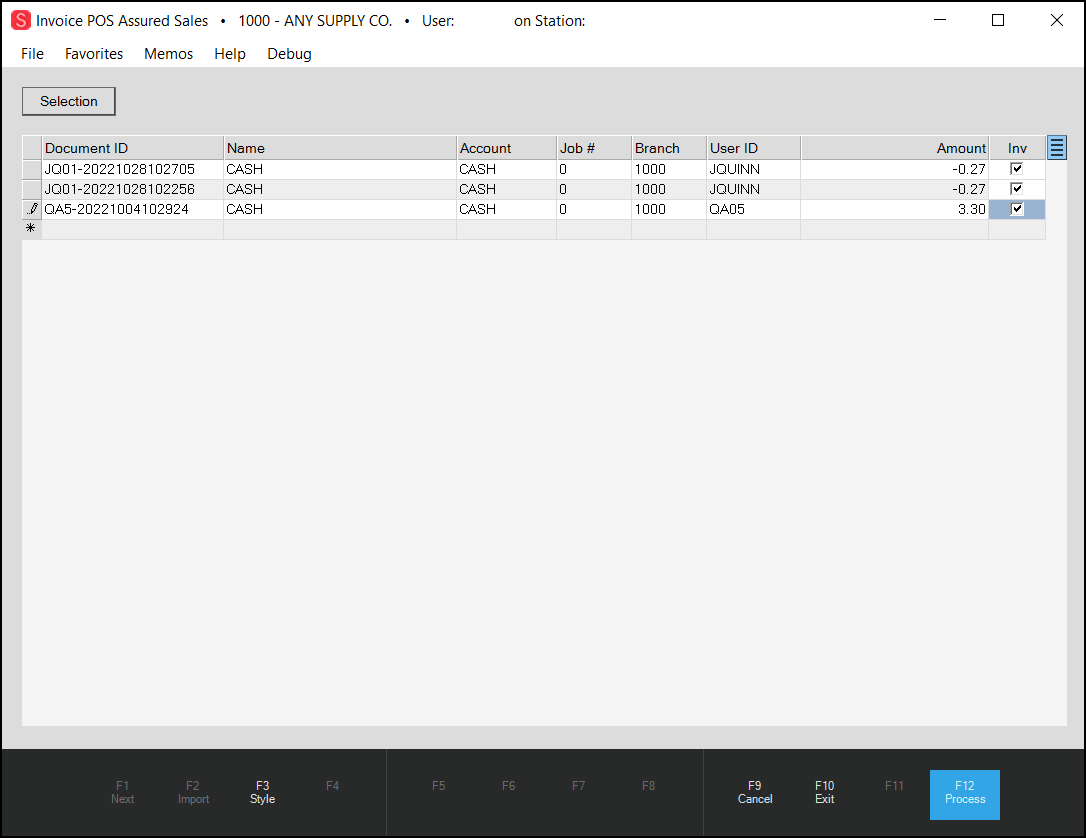
Invoice POS Assured Sales with Entries
10. Select the Inv check box beside each transaction you want to add to the application.
11. Choose the F12 Process button to process these transactions as on online Invoice document. After processing the offline transactions are cleared. The resulting invoices are converted and added to the Documents list.