Network Printer Configuration
This topic lists the specific procedure to be followed when setting up network printer hardware to be used with the application server, workstations (PC), and the application. This procedure applies to standard laser printers as well as supported network Zebra printers (ZT231 models*... this excludes the wireless Zebra QL 420 printers which have separate instructions available on our web site). All printer configuration and set up is the responsibility of the user and is not covered by support. Zebra printers must be purchased with an optional network card or you must purchase and use a print server device to assign a network address.
There are three stages to setting up either one or more network printers to be used with the application:
1. Setting up the Printer on the Server
2. Setting up the Printer on the User's Computer
3. Adding the Printer Device Settings to the Application
Printers connected by USB or serially to a PC or server may not be shared or set up using these instructions. For the most part, serial and USB printers are not supported and will not work with the application. Only one specific USB printer, the DYMO® LabelWriter 550 Turbo, is supported, but set up is a bit different because this printer operates locally (from one PC). These instructions are only for networked printers (TCP/IP connection based).
In addition, some printer devices are not "plug & play." Devices that require installation of a network card or adapter or that must be connected serially through a print server will have additional steps that aren't outlined here. If you are connecting an Epson TM-T88VII printer, please read the Help topic before installing the printer as a network device.
*S4M models have been discontinued. The replacement suggested by the manufacturer is the ZT200 series (we have tested model ZT231).
Setting up the Printer on the Server
To set up the printers on the Network Server:
1. From the Taskbar, select Start.
2. Select Settings then select Printers and faxes.
3. Select Add Printer.
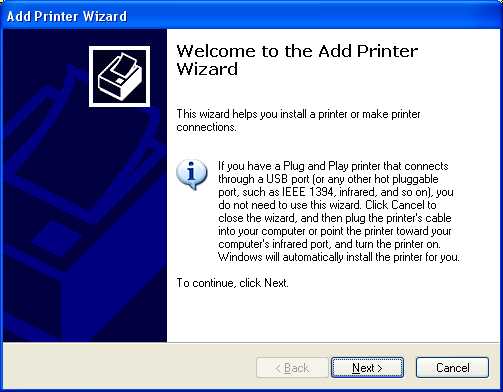
4. In the Welcome to the Add Printer Wizard window, choose Next. The Local or Network Printer box displays.
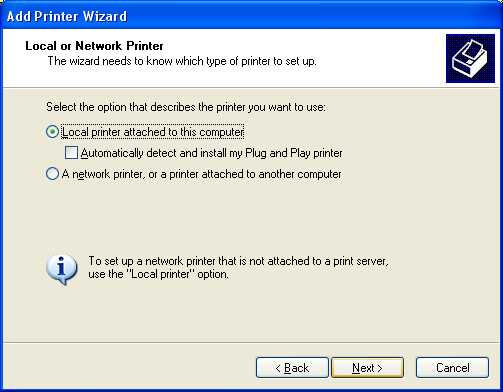
5. Select the Local printer attached to this computer button and click Next. The Select a Printer Port box displays.
6. Select Create a New Port and from the Type of Port list, select Standard TCP/IP Port. Then choose Next.
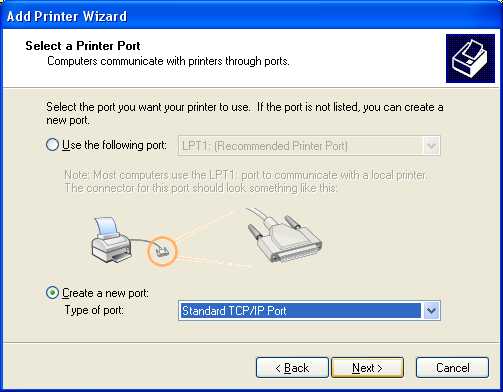
7. In the Welcome to the Add Standard TCP/IP Printer Port Wizard box, choose Next. The Add Port box displays.
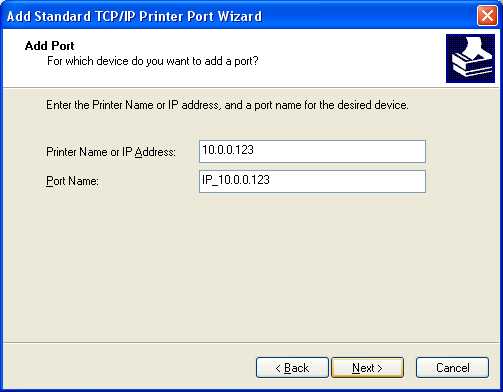
Make sure the printer is turned on and the network is connected to it.

8. In the Printer Name or IP Address field, enter the printer's static IP address (the Port Name field will auto-fill). Then choose Next.
Note: Each printer must have its own unique IP address.
A static address is an IP address that does not change when the network or device is reset. IP addresses are not static normally, so the person responsible for network set up will need to configure this.
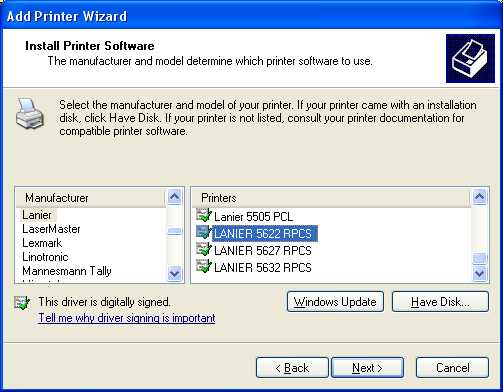
9. In the Install Printer Software box, select the printer's proper manufacturer and model from the lists.
Note: If your printer's model isn't listed, try the following:
-
Install the proper driver using the printer's installation CD or
-
Try using Windows Update to search for a driver.
-
If you are unable to locate an appropriate driver, check the manufacturer's web site.
10. After the printer driver software is installed, click Next to continue. The Name your Printer form displays.
Zebra Printer Note: If you are installing a Zebra printer on a network that already has a Zebra printer (a supported model) in it, we suggest that you install the Generic Printer Driver instead of the one supplied by Zebra. The Zebra driver allows greater control over your printer settings; however, this also opens up the possibility of the settings being changed, which can affect label printing negatively (alignment, etc.). Additionally, the same driver may not be available for different Operating Systems (OS) and may have different defaults requiring additional work. Our application already sends a special .ZPL or Zebra Print Language file to label-type printers, so there's no need to install the Zebra driver.
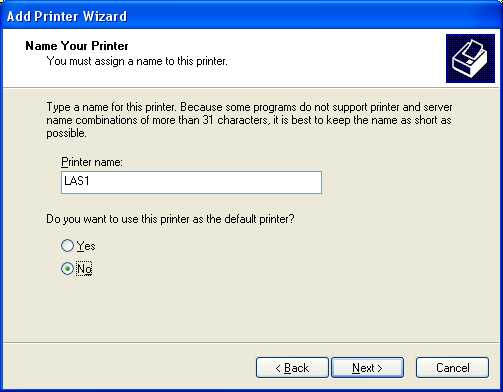
11. In the Printer name field, enter a unique name (LAS1, for example) and make sure all users who need to use this printer use the exact same name when this printer is set up locally (short names make set up easier).
Note: To match printer names to those that will be used in the software application later on, use names that are four characters or less.
12. In response to the Do you want to use this printer as the default printer prompt, choose No, since only one printer can be set up as the default printer for the server. Choose Next to continue.
13. In the Printer Sharing box, choose No (important!) and enter the printer location. Then choose Next. The Print Test box displays.
14. In response to the Do you want to print a test page? prompt, choose Yes and then Next.
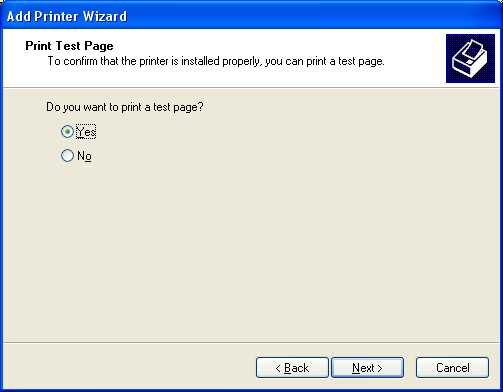
Assuming the test page prints properly, the printer device is now set up on the server.
Repeat this procedure on the server for every printer that to be used with the application. There may be variations in the procedure if printers have additional options or features that need to be installed. Just make sure that installation on the server and each client PC is done consistently. It's very important that you choose the same exact options (such as # of trays installed), etc. on the server and each PC for printers to work properly.
Setting up the Printer on the User's Computer
Complete this step on each individual PC (station) that will use the printer.
1. From the Taskbar, select the Windows Start icon.
2. Choose the Settings icon and in the Find a setting field, enter Printers, then choose the Printers and scanners option.
3. In the Add a printer or scanner field, choose Add Device. The application searches for the printer you added. Continue based on whether the printer is found:
-
If the printer displays in the list, click it and continue to the next step.
The Printers & Scanners form that is specific to the printer you chose displays. -
If the printer does not display in the list, click the Add a new device manually option or the Show Wi-Fi Direct Printersoption and follow the steps for adding the new printer to the PC. Then return to this step and look for the printer in the list.
 view screen.
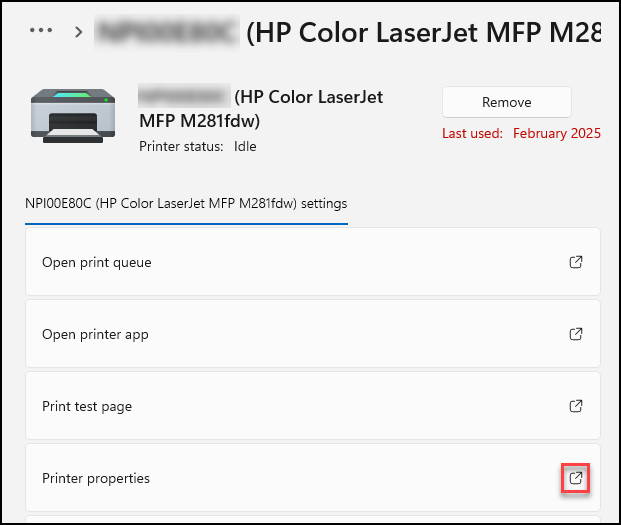
4. Click the Printer properties ![]() icon to open the Properties box.
icon to open the Properties box.
5. Click the Ports tab.

6. Click the Add Port button. The Printer Ports box displays.
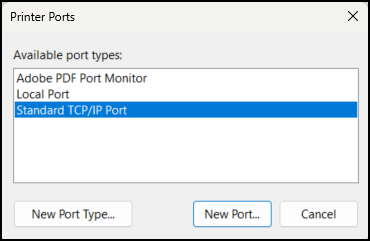
7. From the Available port types list choose Standard TCP/IP and click New Port.
The Welcome to the Add Standard TCP/IP Printer Port Wizard box displays.
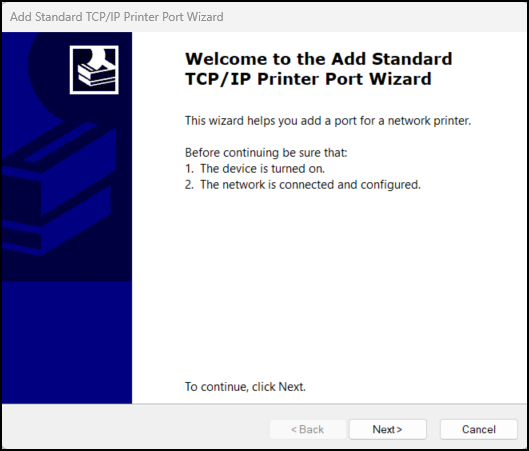
8. Make sure the printer is turned on and the network is connected and configured with it. Then click Next. The Add Port box displays.
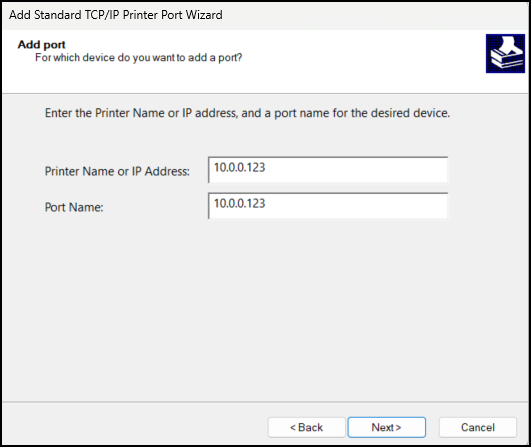
9. In the Port Name or IP Address field, enter the printer's IP address (the port name will automatically fill-in) then choose Next. A list of printer manufacturers displays.
10. Choose the printer's manufacturer and the printer from the list and click Next.
Note: If you added printer drivers using a manufacturer's CD or Windows Update, repeat the same procedure you used on the server (install the same options, etc.).
11. Name the printer exactly the same name as the device is named on the server. If the printer is also going to be the default printer used for Windows printing (independent of software use) answer Yes to the default printer option; otherwise, choose No.
|
Note There can only be one Windows default printer per computer. Each computer used with the application should have a default designated. Application errors related to document processing can occur if this is not the case. The software relies upon default printer settings in certain cases. |
12. If prompted for Printer Sharing, answer No (important!).
13. When prompted whether to print a test page, answer Yes and choose Next.
Assuming that the test page printed properly, the printer is now set up on both a client PC and the server. Repeat this procedure for each additional client PC that will use the printer. Remember to install each printer the same way on each client PC to match the way that specific printer was installed on the server.
Setting up the Printer(s) in the Application
1. From the Main Menu, choose Maintenance > Database > Devices. The Device Maintenance form displays.
2. At the top of the form, choose the Printer button.
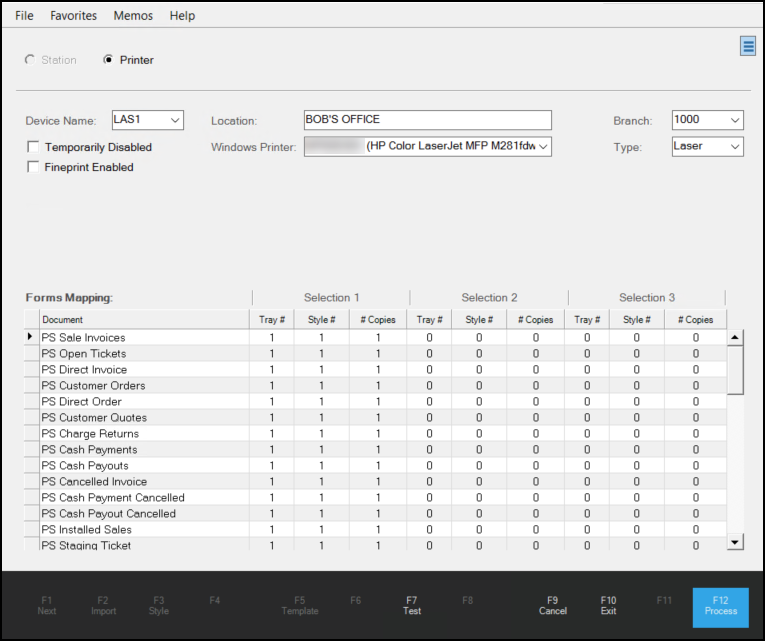
3. From the Device Name list, choose the four-character name you created when you added the device to the server. The Location and Windows Printer fields may update to reflect the settings from the previous entries.
4. In the Location field, you can enter a different location, if needed.
5. From the Windows Printer list, choose the printer you added to the network in the previous two instructions, if needed.
6. From the Branch list, choose the branch served by this printer.
7. From the Type list, choose the type of printer you are adding to this station.
The printer types include Laser, Ticket, Label, Fax, or Dymo). Consider these notes when you are choosing this option:
-
If you are adding a Zebra® brand printer, choose Label as the type.
-
If you are setting up a DYMO® LabelWriter® 400 Turbo printer, choose Dymo.
-
Select the Ticket type for a cash ticket printer.
8. If you want to select printer settings for specific trays and document styles, review the Forms Mapping section for these entries. These settings are described in more detail in this topic.
9. When you have completed your entries, choose Process (F12) to save them
At this time, it's a good idea to do a test print from the application (print a quote or reprint an existing document, for example). All printers should be set up and tested prior to your company's "live" week.
Zebra is a registered trademark of ZIH Corporation.
DYMO and LabelWriter are registered trademarks of Newell Rubbermaid, Inc.
ZIH Corporation and Newell Rubbermaid are not affiliated with ECI Software Solutions, Inc.
