Epson TM-T88VII Thermal Printer (with Ethernet Interface)
We support the Epson TM-T88VI
Configuration
Epson provides a configuration program (EpsonNet Config Utility for Windows) that can be used to set the IP address on T88VI
Download the utility.
https://support.ecisolutions.com/doc-spruce/Devices/epsonnetconfig_v453.zip
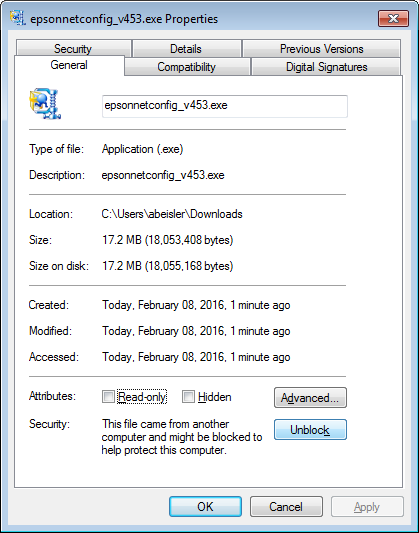
Unzip (extract) the contents of the ZIP archive to a location on your PC. You may need to open the file properties dialog and choose Unblock before using. The utility was developed by the manufacturer and is included here as a convenience. The manufacturer may change or modify the utility software at any time so we cannot guarantee that this is the latest version available.
After download completes, open the folder containing the downloaded program, and view the file's properties. Choose "unblock" and "apply."
Double-click on the program to install it on your computer. You will be asked to accept the terms and conditions. Respond appropriately to any prompts and warnings.
After the utility has been installed, run the program from a computer that is on the same network as the printer. You may be asked about changing Firewall permissions the first time you run the program.
If you are installing more than one device, connect one printer to the network at a time repeating the following procedure for each printer.
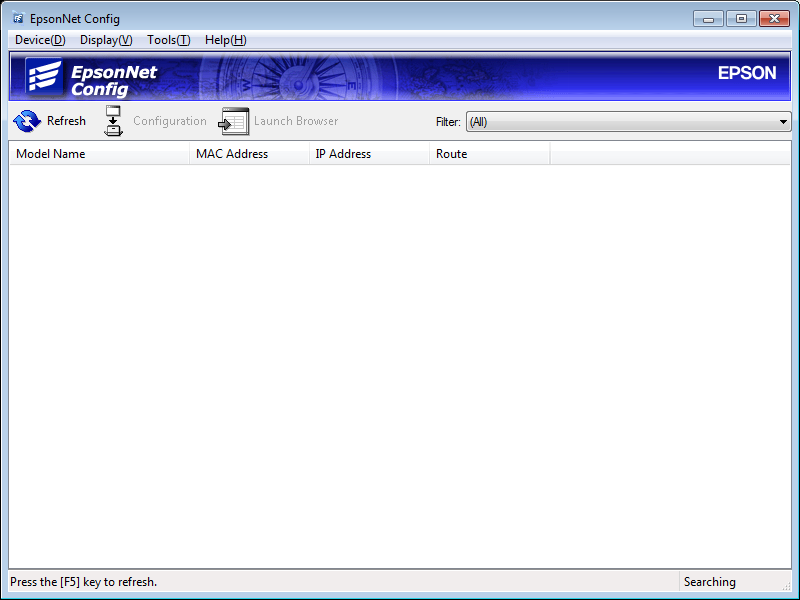
If the EpsonNet software doesn't list a printer, choose Refresh. If after 25 seconds, a printer is not listed, use the "Tools(T)" menu and "Options" to adjust the timeout values to a longer period. You may have to plug the printer directly into the network adapter on a PC or laptop to set the address if this still doesn't work.
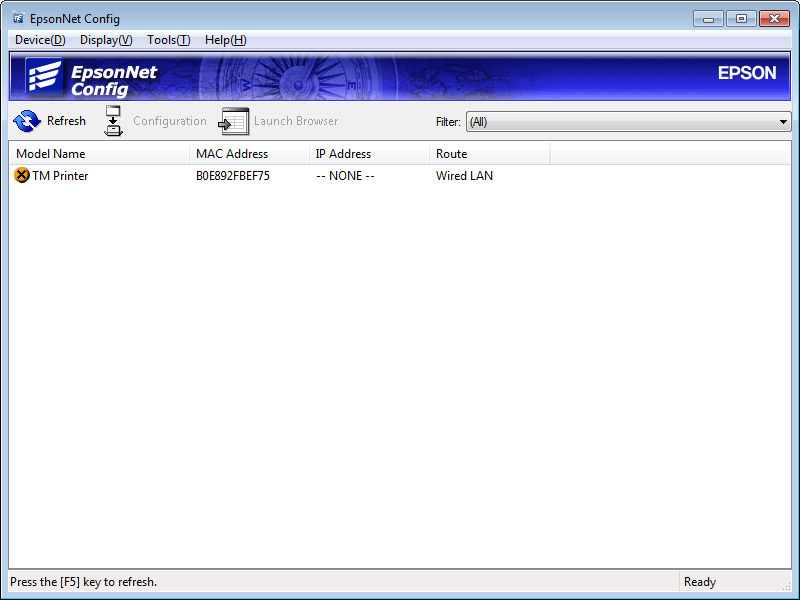
Once the printer is listed, double-click the "TM Printer" in the list. A "device properties" dialog (window) should open.
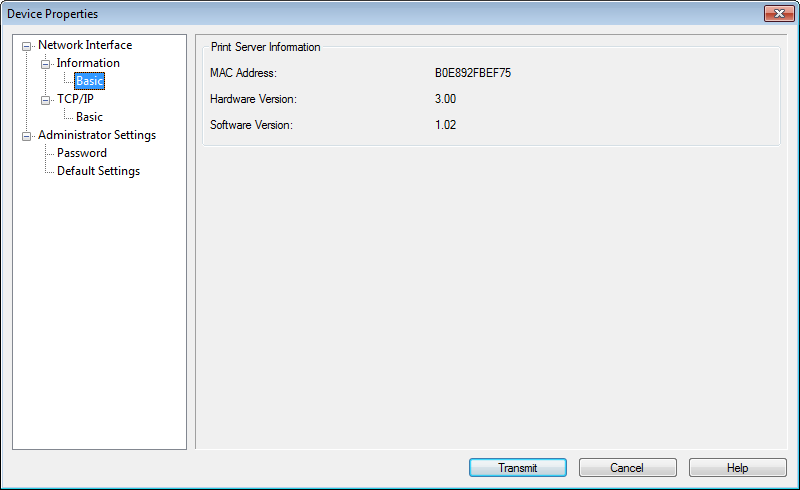
In the tree view on the left, choose "Basic" from the Network Interface, TCP/IP nodes.
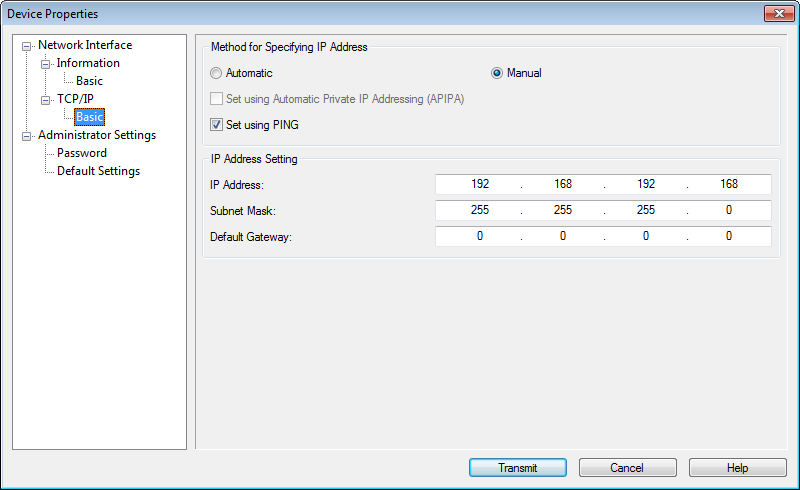
Assign the property IPV4 address (should fall within the range of static addresses for your network scheme), set the subnet mask to match your other network devices, and set the gateway (also the same as your other network devices). Use ipconfig from the command prompt in Windows to view network adapter and address information.
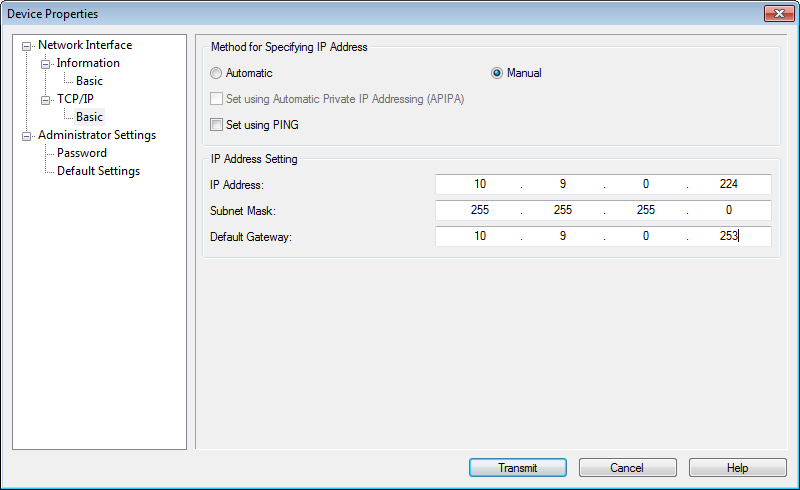
Once all changes have been made, choose "Transmit." A warning dialog is provided...

A progress indicator is provided.
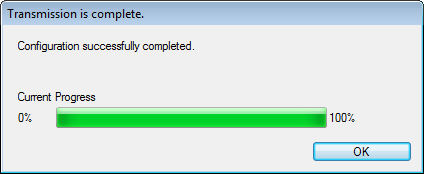
If there were any queued items for the printer, they should print once the address is successfully updated.
Windows Installation
For cloud hosted customers using a VPN (Virtual Private Network) for printing, any printers need to be configured on the server which requires support assistance. For local printing or printing in an offline situation, please install the printer using the following instructions:
Install the printer in Microsoft Windows as a new "local" printer using the TCP/IP option. Select a printer driver of the Epson (manufacturer) and look for the T88VI
If the driver isn't listed by Windows Update, close the "Add Printer Driver Wizard" and you'll need to download the "EPSON Advanced Printer Driver" from https://epson.com for the printer and install it manually. The driver files are supplied as a ZIP (archive) file which must be extracted before you attempt to run the driver installer program (EXE). After extracting the contents of the ZIP file (right-click and choose "Extract"), locate the ADP_504_T88V.exe file and run it (the "504" is a version number which may change). You may need to right-click and choose "Run as Administrator."
Do not share the printer if asked. You will be asked to provide a name for the printer. Use a name that identifies the printer's location such as "Epson Counter Left." If you need this printer to be used by more than one station, use the same exact name on each Windows client computer you install the printer at.
Please note: the "generic / text-only" driver option should not be used. Receipts don't print properly in this case.
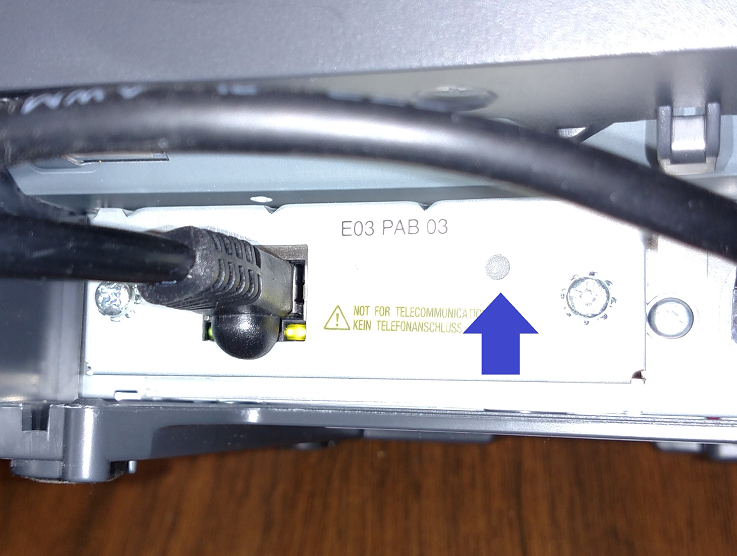
Resetting the Epson TM-T88VII Printer
Before resetting, you should print the current configuration of the printer and check it. This is done by pushing and holding the Reset button for three (3) seconds. A bent paper clip works well.
|
************************************ TCP/IP Settings IP Address :10.9.0.224 SubnetMask :255.255.255.0 Gateway :10.9.0.253 DHCP :Disable APIPA :Disable ARP+PING :Disable
SNMP Settings Community Name1:Public Community Name2:
Other Information MAC Address :B1:E8:93:FB:EF:72 Hard Version :03.00 Soft Version :01.02
Factory Settings No.3 :Disable No.4 :Disable No.5 :Disable
Socket Timeout :300
Physical Layer :Auto-negotiation ************************************
|
The Reset button can be found near the network adapter on the rear of the unit. The same button can also be used to reset the printer back to defaults.
To reset back to factory defaults, do the following:
-
Make sure the printer has paper.
-
Unplug the network cable.
-
Power OFF the printer.
-
Press and hold the Reset button while powering ON the printer.
-
Release the Reset button after the warning message is printed.
A message should print on the paper, "Resetting to Factory Default! Please Wait... WARNING: DO NOT TURN OFF POWER."
-
Wait until the printer prints "Reset to Factory Default Finished."
-
After resetting, plug the network cable back in.
If the "IP Address" is 192.168.192.168, the printer has either been reset, is new, or has lost its settings.