Clocking In/Clocking Out of Time Clock
When the feature is enabled and administrators have set up the Time Clock permissions, you can clock in at the beginning and clock out at the end of every shift. You can clock out temporarily for breaks or meals as well. The Clock In/Clock Out feature uses the branch’s local time for your time entry.
Note: Time Clock reports are based on the time setting of the application database server, so if the server is in a different time zone, reports indicate that time zone instead. You see the time settings in local time always.
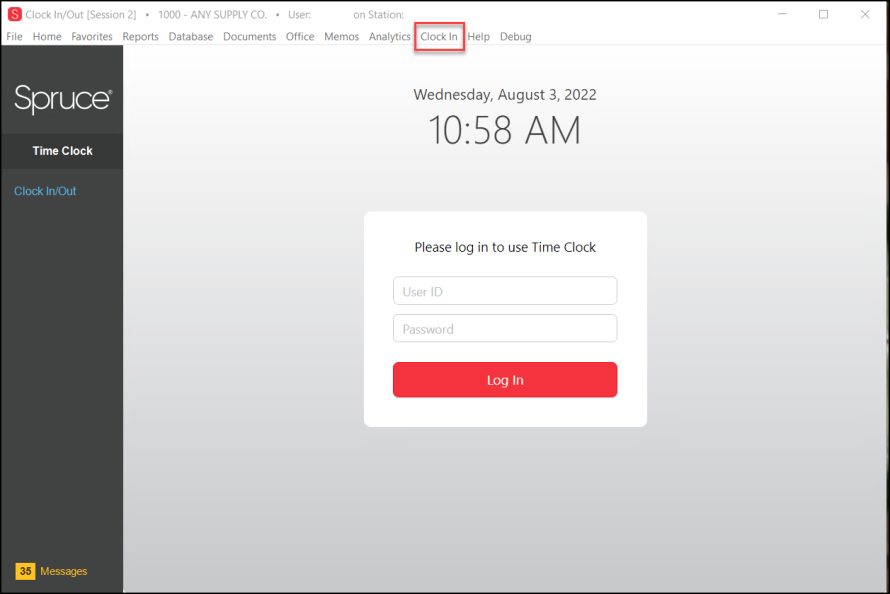
If the system administrator asked the ECI team to prompt you to log into the Time Clock feature before Clock In/Clock Out, the log in form displays. If not, click Clock In and the Time Clock form displays.
Note: We do not recommend that you create a Time Clock Favorite, as this tends to cause errors that prevent you from Clocking In.
Clocking In To Time Clock
To clock into the Time Clock:
1. From the Menu Bar (at the top of the application), choose Clock In.
If the Login options display, enter your user name and password (same as when they log into the application) and choose Log In to continue.
After you click Log In, the list of your previous log in and log out times display.
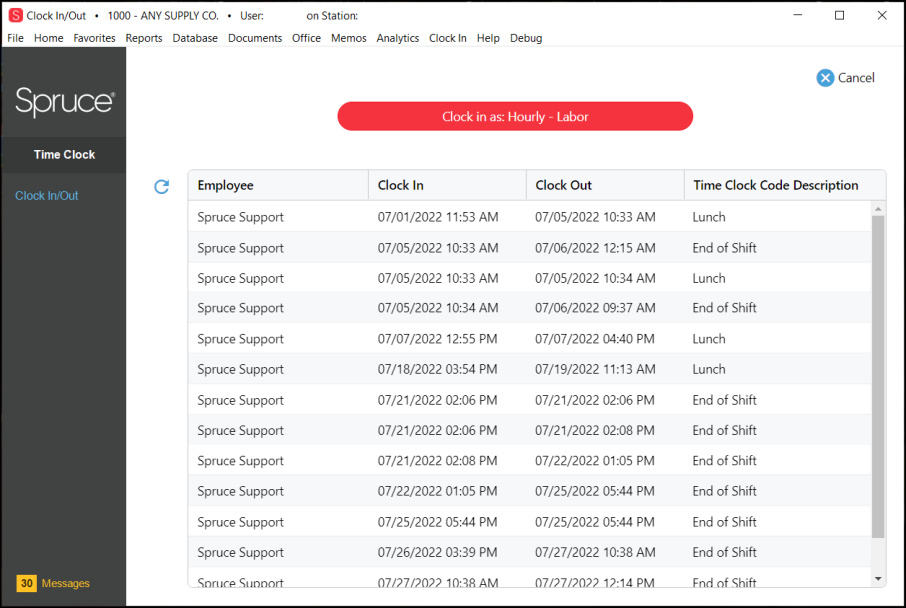
Time Clock Form with your Time Clock History
This form shows your existing Clock In and Clock Out dates and times. They display in most recent date order by default.
2. Choose Clock In as <Time Clock Code Type> to clock in. If you have more than one position in the company, you may need to choose the work position you are beginning. The application records the clock in date and time and adds it to the list. The Login page redisplays.
3. Choose the Main Menu to begin work.
Clocking Out of Time Clock
To clock out of the Time Clock:
1. From the Menu Bar (at the top of the application), choose Clock In.
If the Login options display, enter your user name and password (same as when you logged in before) and choose Login to continue.
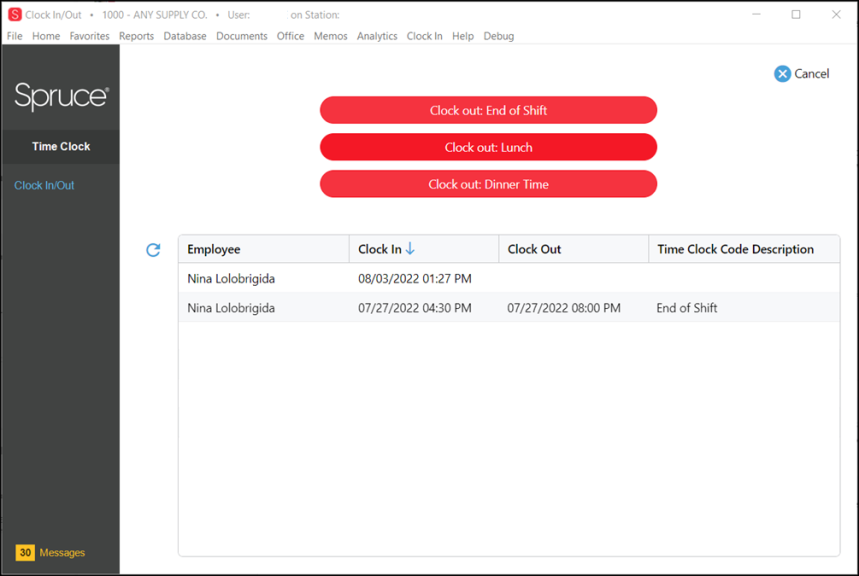
Time Clock - Clock Out Options
2. Choose the appropriate Clock Out option. The clock out time is added to the list and the Time Clock form closes.