Images
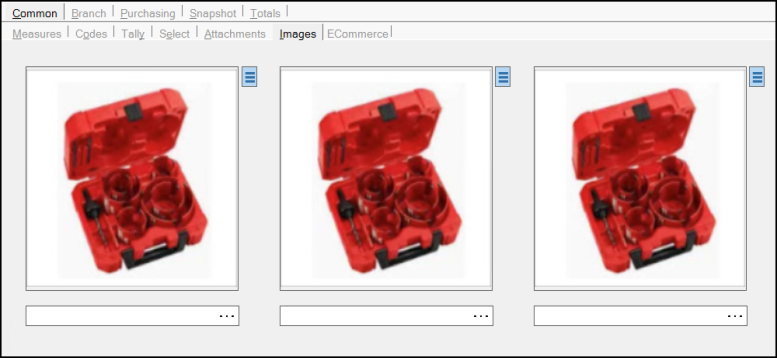
You can use the Images tab to link up to three product images with an item. The application maintains the image data in the Attachments database; however, the images are not accessible via attachment functions. Create the image using the guidance in the Image Handling section below before you get started.
To add a new image, or replace an existing one:
1. At the bottom of the form, choose the Browse (...) button. The Open dialog box displays.
2. Navigate to the folder that contains the image (if you are a Cloud customer, you need to navigate to a Shared folder).
3. Select the image from the list and choose Open.
4. Choose Process (F12) to save the image to the database. The application prompts you to select the branches this item is associated with.
5. Choose the check boxes of the branches you need and click Accept.
After you add the image to the Image tab, you can double-click it to display the full size image.

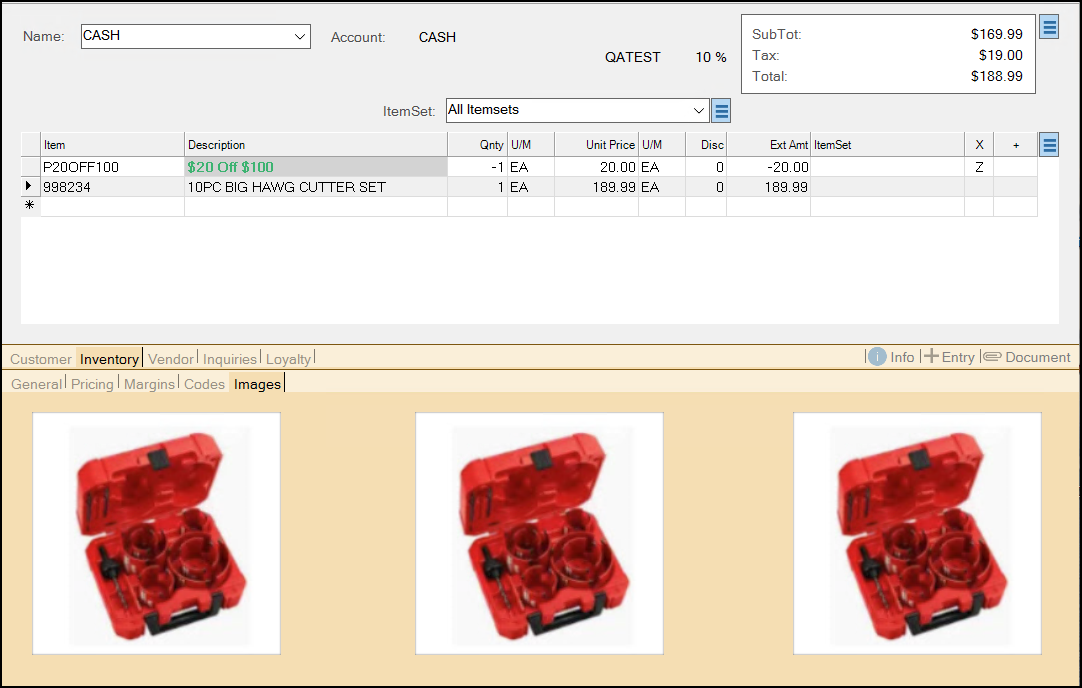
After you save the images, you can view them in the Point of Sale data grid by highlighting the item, selecting the Folders (F4) key, and choosing the Inventory > Images tabs.

Image previews are sized to fit in the space provided and to maintain their aspect ratio. You can view a full size image using your computer's default image program by clicking on the image. There are some restrictions on total file size, so consider carefully before attaching large quantities of images to items. Very large images may cause a noticeable delay when initially viewing folders containing those images.
Image HandlingWhen you create the images you need for this purpose, use an application that allows you to set the default image size (189 x 184 pixels) and save the file in JPEG format. Use the image ID as the file name so the application can match the image to the Item. The default size of the image doesn't take into consideration application scaling which may increase or decrease this size. Images are scaled based on the higher dimension to fill the picture box as best as possible. Image data isn't scaled except in the case of thumbnail images. Images that are added via the Image Load utility are saved along with a thumbnail. Thumbnails are saved with a maximum height or width of 80 (the higher dimension is set to 80, and the smaller dimension, if different, is scaled based on a percentage). Thumbnails are used for product images in the ProLink app. We don't specify any compression when saving images as a JPEG. Default compression for the JPEG encoder is 75%. For this reason, there may be a loss of quality. Conversion from some image types to JPEG may result in more or less loss depending upon the original file type and quality. |