Category Mapping Utility
Using the Category Mapping utility, you can associate group and section codes with a vendor’s classification codes (department, class, and fine-line). The application uses these category mappings when you retrieve vendor EDI files or catalog updates to ensure that the inventory records are updated successfully. This ensures that as a supplier changes their pricing or price quantity costs, your data stays in sync with theirs. Price changes that come in through catalog loads affect not only the prices you charge on the items you have in stock, but also impact the cost that purchasing new stock. In addition, the update process ensures you have access to the vendor's entire catalog, so if a customer comes to you for items you do not have in stock, you can order them from the vendor quickly and easily.
Using the Category Mapping Utility to Map Vendor Records to Groups and Sections
After an Implementation or Support Specialist enables the Category Mapping feature, you can access the Category Mapping feature. Most companies that use the Vendor EDI process, download a catalog on a regular basis to keep track of the vendor's pricing and quantity changes to the items they sell. After you download the catalog, it is a good idea to match the items up with the groups and sections settings in your inventory so the records align. This tools allows you to specify these settings so the application can apply them to future incoming records. This process uses the data retrieved when using the Purchasing > Vendor EDI > Catalog Load feature for a supplier you have EDI set up for.
To select the group/section codes for a vendor's inventory catalog:
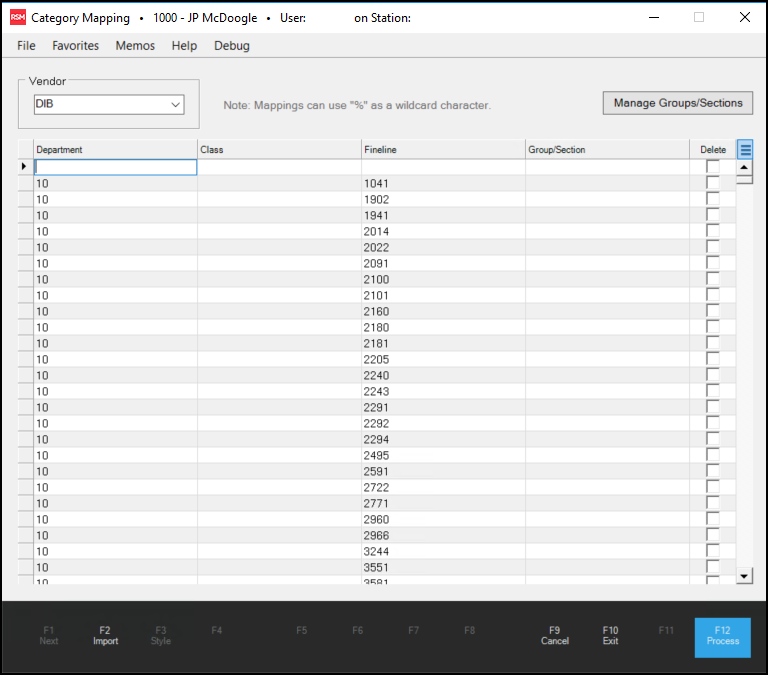
1. From the Main Menu, choose Inventory > Utilities > Maintenance > Category Mapping to display the Category Mapping form.
2. Select the vendor name from the Vendor list.
This needs to be a vendor with an associated catalog in Purchasing > Vendor EDI.
-
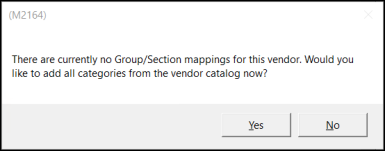
If this is the first time you use Category Mapping, a prompt displays, asking if you wish to add all categories from the vendor catalog. Choose Yes. You can delete the ones that do not apply to your business later.
-
If you have used this utility before, the mapping settings you already saved will show in the data grid. You can add the full list again by selecting the Menu Marker
 and choosing the Add All from Vendor setting to add all items from the vendor. You can remove the duplicates from the list later.
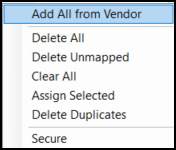
The Menu Marker also allows you to delete all items in the list, delete selected items, clear all items, delete unmapped items, assign selected items and delete duplicate items.
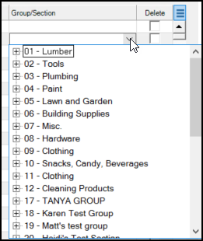
3. From the Group/Section list, choose the appropriate group/section combination for the Department/Class/Fineline records provided by the vendor. Click the + icon beside the Group to display the Section entries.
Using % as a wild card character: You can use the % character as a character substitute in the Department, Class, and or Fineline fields. Please note that when you use a wild card character, the application cannot account for potential overlaps.
4. Repeat Step 3 for each vendor record that matches your inventory items and select the Delete check box beside the vendor records you do not stock.
5. Click Process (F12) to save changes and update the Inventory item group/section as mapped. You can also save your entries and come back later to continue working on the mapping.
Adding the Vendor Mapping Using the Import Wizard (F2)
You can also use the Import Wizard to import Group/Section mapping you may have already entered in a spreadsheet. Please note that the file selected must be located on your local computer or your shared folder in the cloud.
Note: Often when you are importing a new list of items, you want to add a new group or group/section to refer to these items as a group. You can use the Manage Groups/Sections button to add these new group and section options without having to leave this form to do it. Click here to learn more about this process.
1. From the Main Menu, choose Inventory > Utilities > Maintenance > Category Mapping to display the Category Mapping form.
2. From the Vendor list, choose the name of the vendor.
3. Choose the Import (F2) option to display the Import Wizard.
4. In the Windows File field, choose the Ellipsis  button and navigate to the file you want to import.
5. Select the file from the list and click Open.
6. In the Sheet list, choose the sheet you want to import. The Preview Data grid should update to show the sheet entries, or you can click the Preview button.
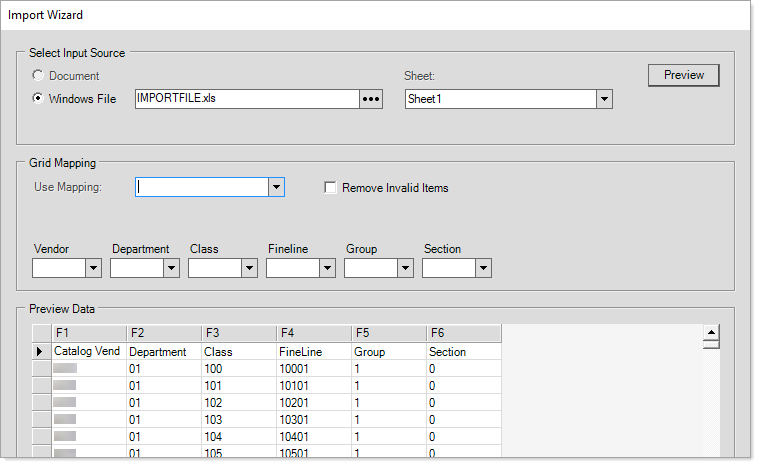
7. After the data grid updates, review the entries in the grid and choose the column number that matches the expected data in the Vendor, Department, Class, Fineline, Group, and Section lists.
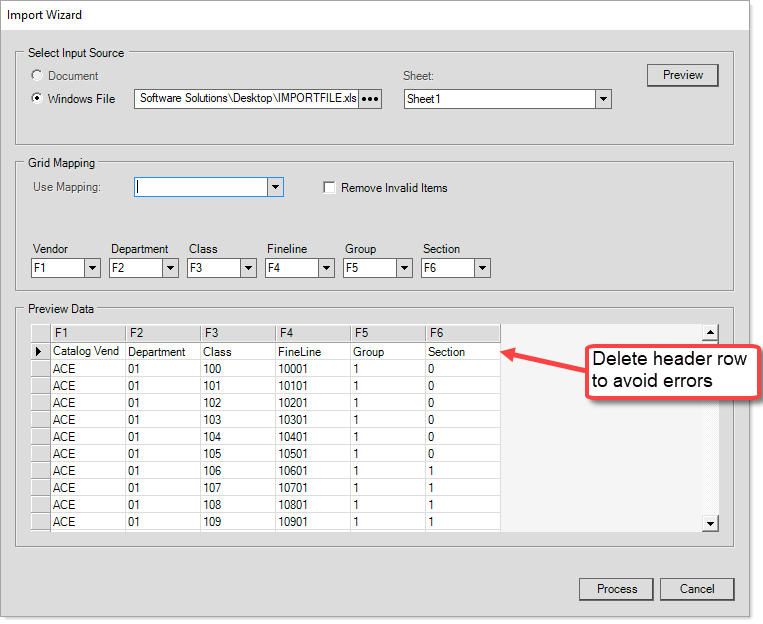
In this example, F1 represents the Vendor, F2 represents the Department, etc.
All fields in Category Mapping are now be filled out with the F5/F6 columns above combined into one Group/Section column.
Note: If the header row is showing in the data grid as it is in our example above, delete it by right-clicking the row and selecting Delete. This prevents the file reading errors that would occur when you import the file.
8. When the data displays as you like it, (and you have deleted the header row if it is there), choose the Process button.
9. When the updated data displays in the Category Mapping form, choose Process (F12) to save the updated mappings to the matching group and section records in the database.