ProLink (Alt-L)
Use this tab to set the branch-specific RockSolid MAX ProLink options for the selected branch. All settings must be saved to the branch record (by selecting Process (F12).
ProLink in a Browser gives your customers a way to review their account status, submit payments on account/jobs, review and purchase items from your inventory, and access their account-based documents. ProLink is a separately priced feature, contact your salesperson for more information.
To set up your ProLink branding for the selected store location, complete the settings below. Here you can customize the store's identity by adding a location-specific company logo and banner, setting local notification options, and adding Purchasing Terms and Conditions that are specific to the selected branch location. These settings are based on the ProLink settings found on the Parameters form.
Branch Setup > ProLink Tab > Settings Subtab
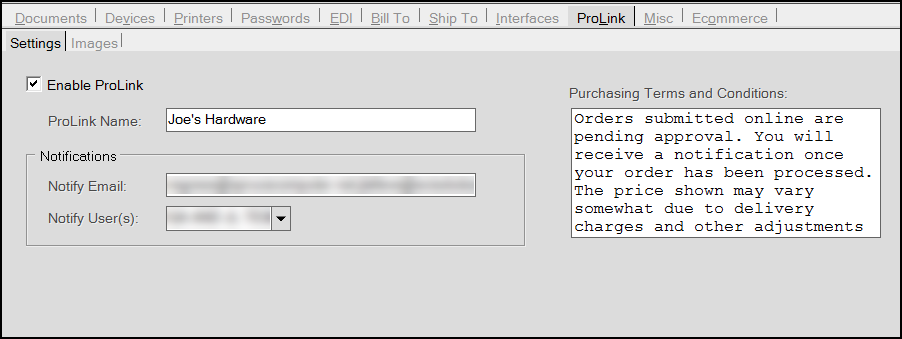
Settings Subtab
Enable ProLink
Select this check box to enable customers to access their account and inventory information for the currently selected branch. If this branch is not a physical location or you do not enable e-commerce at this branch, do not select this check box.
ProLink Name
Enter the branch/store location name you want to display when your customers log into ProLink. Customer records that are tied to this location will see this branch name. This entry might identify the location by address, for example. It may be necessary to offer a "customer friendly" name depending upon how you use the existing branch description and name fields. If you don't set a "ProLink Name," the application uses the selected branch's name whenever branches are identified in ProLink.
Notifications
There are two options for determining which user(s) should receive notifications regarding ProLink activity for the current branch. You can set one or both at your company's discretion.
Notify Email
Enter the email address of the branch associate who will respond to ProLink inquiries, payments, and orders.
Notify Users
Choose the user ID or group ID you want to notify when ProLink inquiries, orders, or payments come into the branch. The application sends notifications based on the user's settings (the notification might be delivered via the notification queue, email, or via text message, for example).
Purchasing Terms and Conditions
The text you enter in this section reflects the disclaimer that will display for the currently selected branch. It displays when the customer chooses the View Terms and Conditions option on the ProLink screen prior to submitting an order or quote request in ProLink. Here are some points you may want to consider mentioning:
-
Sales Tax is not included in any totals presented to the user.*
-
Adjustments are not included or added automatically such as delivery charges, etc.*
-
Prices and availability are subject to change between the time the user submits their order or quote request and when that request is processed by your company.
-
Requested Delivery Dates are not guaranteed and delivery may not apply to all situations or areas.
-
Customers may want to consider initially submitting a quote if they want a more accurate picture of their final amount before ordering.
-
Deposits may be required in some or all cases.
-
You may want to provide instructions on how to cancel an order as well as explain the difference between a quote and order.
*Final processing, expected sales tax, and any adjustments will be available by viewing an Order or Quote document via ProLink after processing.
Pricing Note: The application does not apply certain types of pricing, such as volume pricing, until the submission is processed.
Disclaimer Note: A disclaimer is required. If you enable ProLink without adding a specific disclaimer, the application adds a default disclaimer. ECI Software Solutions, Inc. is not responsible for any issues that arise from choosing the default disclaimer. Your company is responsible for the disclaimer statement regardless of whether you use your own statement or choose the default.
Branch Setup > ProLink Tab > Images Subtab
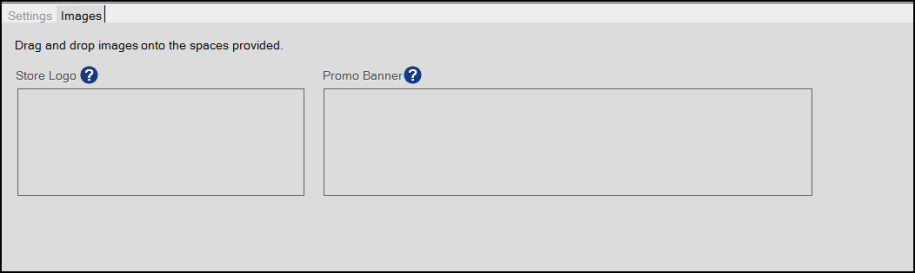
Images Subtab
Store Logo (Banner)
To add or replace the existing logo, drag and drop and image file into the panel area (rectangle) reserved for the image.
If used, this image is displayed near the top of the display areas. The dimensions for the image must maintain a 3:1 (aspect) ratio (horizontal x vertical). The minimum width (horizontal dimension) in pixels is 900. An image that is 900 pixels wide would be 300 pixels in height, for example. The "promo" banner (below) is narrower (top to bottom) than the logo banner. Images are not required.
Promo Banner
To add or replace the existing promotional banner, drag and drop and image file into the panel area (rectangle) reserved for the image.
This image is displayed near the bottom of the screen. This image can be hidden by the end user. The dimensions for the image must maintain a 6:1 (aspect) ratio (horizontal x vertical). The minimum width (horizontal dimension) in pixels is 900. An image that is 900 pixels wide would be 150 pixels in height, for example. The "promo" banner is displayed on the home (landing) page as well as in the "shop" area. Images are not required.